Skip to content
 cust@legendarchery.com
 302 503 5767
 Westfield IN 46074

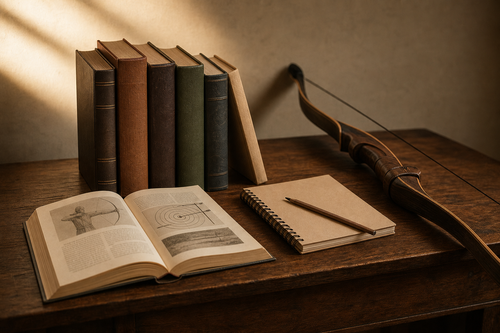
Getting into archery is straightforward once you understand the fundamentals — but most beginners struggle because they skip steps or develop bad habits early. This guide is written for anyone starting from zero: no prior experience, no coach yet, and no idea what equipment to buy. Follow the steps in order and you will build a foundation that actually holds up over time.
Why Starting with Correct Technique Matters
Archery is a precision sport built on repeatable mechanics. Every shot you take reinforces a pattern in your muscle memory — good or bad. Archers who start without proper guidance often spend months unlearning tension in the drawing hand, a collapsed bow arm, or an inconsistent anchor point. Fixing deeply ingrained bad habits is significantly harder than building correct habits from the start. The investment you make in learning properly in the first few weeks pays off for years.
What You Need Before You Start
You do not need expensive gear to begin. You need appropriate gear. Here is what a beginner should have before their first serious practice session:
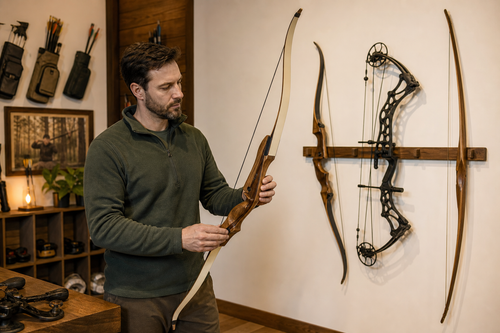
- A recurve bow with appropriate draw weight: For adults, 20–28 lb is a sensible starting range. Children should go lower. A bow that is too heavy for your current strength will force compensations that destroy form.
- Arrows matched to your draw length: Arrows that are too short are a safety hazard. Arrows that are too long reduce accuracy. Get measured before you buy.
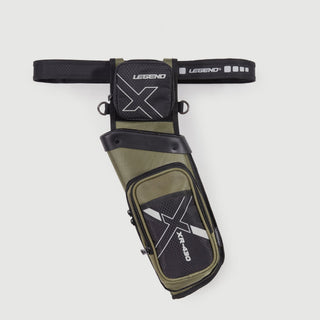
- An arm guard: Bowstring contact on the forearm is painful and discouraging. An arm guard is inexpensive and essential.
- A finger tab or shooting glove: Bare fingers on a bowstring cause pain and inconsistent releases within a single session.
- A target and a safe backstop: Even at low draw weights, arrows travel with force. A proper target and a solid backstop behind it are non-negotiable.
If you are unsure where to source beginner-appropriate equipment, Legend Archery's online shop carries a wide range of recurve bows, arrows, and protective gear suitable for new shooters.
Step-by-Step Process for Learning Archery
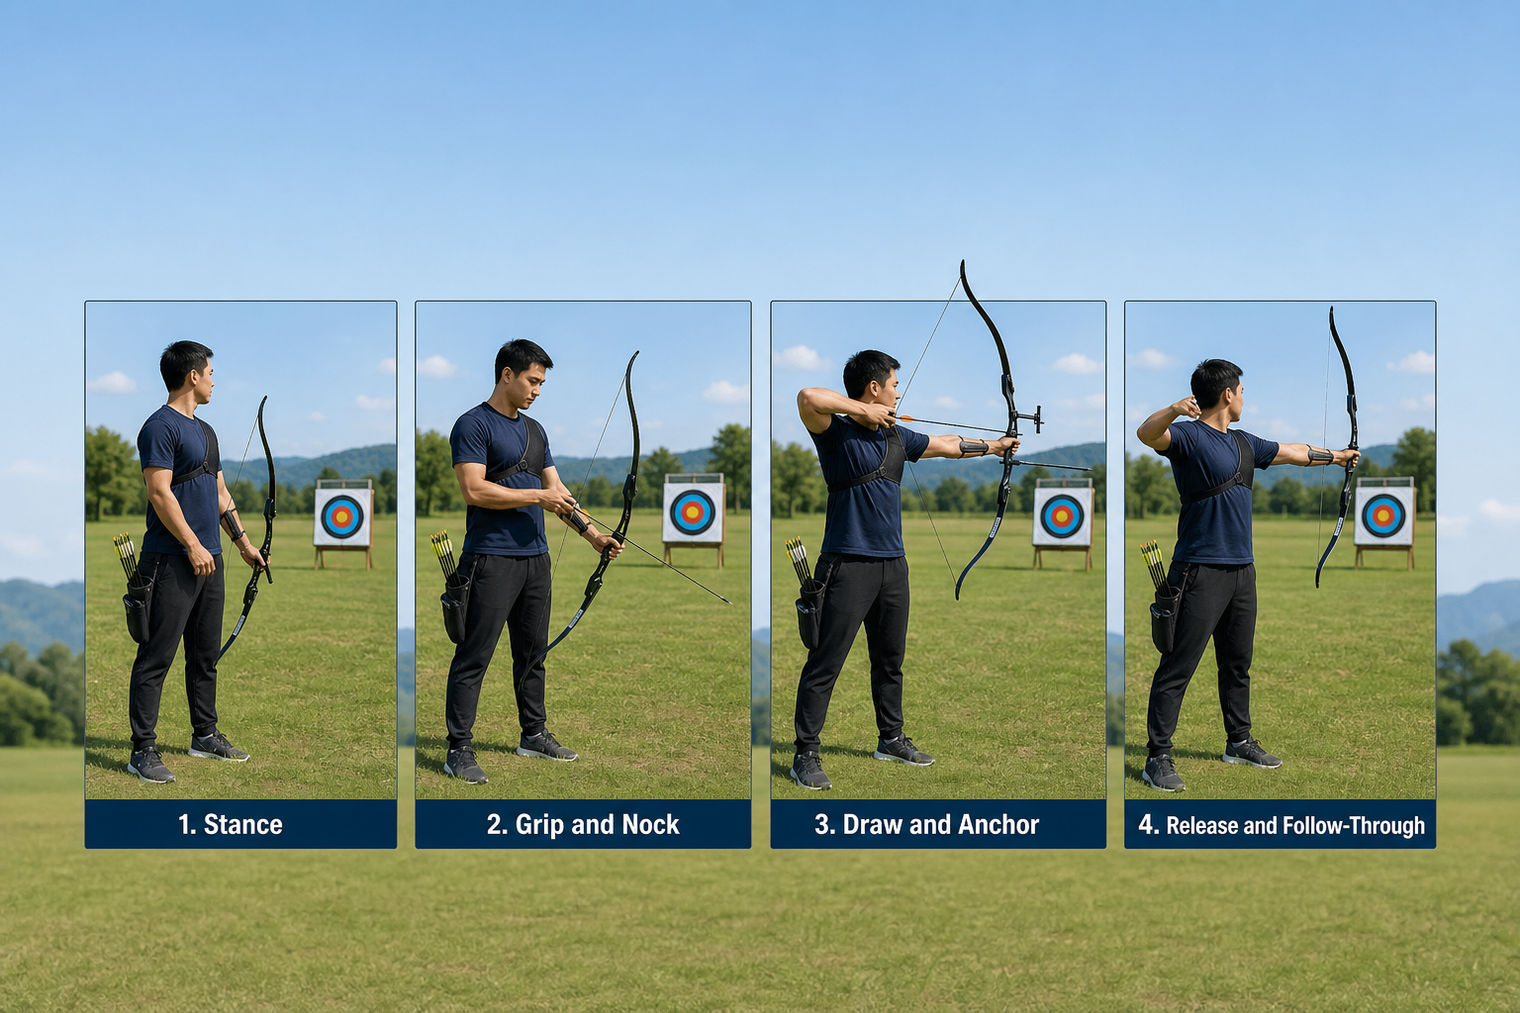
Step 1 — Set Up Your Stance
Stand perpendicular to the target with your feet shoulder-width apart. Your lead shoulder (the one closest to the target) should point toward it. Weight should be evenly distributed. Avoid leaning forward or back. A stable base is everything — your upper body mechanics rely on it.
Step 2 — Grip the Bow Correctly
Place the bow grip against the meaty pad at the base of your thumb, not in the centre of your palm. A tight grip rotates the bow and throws arrows off course. Let the bow sit lightly in your hand. Many coaches describe the ideal bow grip as feeling like you are holding a fragile object you do not want to crush.
Step 3 — Nock the Arrow and Set Your Hook
Place the arrow on the arrow rest and clip the nock onto the bowstring just below the nocking point. Use a three-finger draw (Mediterranean style) for recurve: index finger above the nock, middle and ring fingers below. Hook the string in the groove of your first knuckles — not the fingertips. Deep hooks create control problems at release.
Step 4 — Pre-Draw and Alignment
Before drawing, raise the bow toward the target. Your bow arm should be extended but not locked rigidly — a slight bend at the elbow reduces string slap on the arm guard. Your drawing elbow should be level with or slightly above the arrow line.
Step 5 — Draw to Your Anchor Point
Draw the string back in a smooth, controlled movement driven by your back muscles, not your arm. The anchor point is where your drawing hand touches your face consistently on every shot. Common anchor points include the corner of the mouth or beneath the chin. Choose one and use it every time — consistency here is what creates repeatable accuracy.
Step 6 — Aim and Hold
Once anchored, focus on the target through your sight or along the arrow. Hold your position for one to two seconds without collapsing. Beginners often rush through this phase. That pause is where your subconscious alignment happens.
Step 7 — Release and Follow Through
Release by relaxing your drawing fingers rather than actively pulling them open. The string does the work. After release, keep your bow arm up and your drawing hand should move back naturally toward your ear or shoulder — this is called follow-through. Dropping the bow arm immediately after release is one of the most common errors beginners make.
Common Mistakes to Avoid
These are the errors that hold most beginners back. Recognising them early saves significant time:
- Gripping the bow too tightly: This torques the riser and pushes arrows left or right consistently. Relax your grip.
- Pulling with the arm instead of the back: Your drawing arm muscles will fatigue quickly and your anchor point will shift. Drive the elbow back using your rhomboids and trapezius.
- Inconsistent anchor point: Even small changes in where your hand contacts your face will scatter your groups significantly at longer distances.
- Peaking at the target mid-draw: Moving your head forward to look around the bow collapses your form. Trust your alignment and hold still.
- Starting with too much draw weight: A bow you cannot pull smoothly forces muscular compensations throughout the entire shot cycle. Ego-driven draw weight is one of the leading causes of poor beginner form and shoulder injuries.
- Skipping dry-fire practice of form: Drawing without an arrow (carefully and safely, with the bow pointing at a target) to focus entirely on your mechanics is a valuable drill. Many beginners never do this.
How to Check Whether Your Form Is Actually Working
Progress in archery is measurable. Here is how to objectively assess whether your technique is improving:
- Arrow grouping, not score: At short distances (5–10 metres), your arrows should start forming clusters rather than spreading randomly. Tight groups that are off-centre indicate an aiming issue. Wide scattered groups indicate a form or consistency issue.
- Left-right vs. up-down patterns: Consistent misses in one horizontal direction often point to bow torque or grip pressure. Vertical inconsistency often relates to anchor point variation or release timing.
- Shot fatigue: If your form degrades significantly after 20–30 arrows, your draw weight may be too high or you may be relying too much on arm strength instead of skeletal alignment.
- Video review: Film yourself from the side and from behind. Issues invisible in the moment — a collapsed bow arm, a creeping draw hand — become obvious on video.
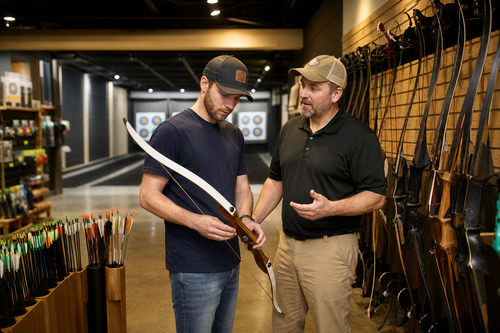
- Coaching feedback: Even one session with a qualified coach in your first month can identify and correct issues that would take self-taught archers years to recognise.
As your technique stabilises, upgrading to better-matched equipment can also make a meaningful difference. Browsing outdoor archery supplies that suit your growing skill level is a natural next step once your fundamentals are solid.
Frequently Asked Questions
How do you actually learn archery correctly — where do you start?
The most effective starting point is correct stance and grip, not aiming. Most beginners want to focus on hitting the target immediately, but accuracy is a byproduct of repeatable mechanics. Build the shot cycle from the ground up — stance, grip, draw, anchor, release — before worrying about where arrows land. Even a handful of sessions with a qualified coach early on can accelerate this process significantly.
What mistakes trip up most beginners when they start shooting?
The most damaging mistakes are starting with too much draw weight, gripping the bow too hard, and rushing through the anchor-and-hold phase. These three errors alone account for most of the frustration new archers experience. They are also the hardest to self-diagnose without video or coaching feedback.
What gear does a complete beginner actually need?
A recurve bow at an appropriate draw weight, correctly spined arrows matched to your draw length, an arm guard, and a finger tab. That is the functional minimum. Everything else — sights, stabilisers, clickers — comes later once your form is established. Buying advanced accessories before your fundamentals are solid adds complexity without benefit.
How do you know if your archery technique is improving?
The clearest indicator is arrow grouping at close range. If your arrows are clustering together — even off-centre — your mechanics are becoming consistent. If arrows are scattering in different directions with no pattern, focus on one element of your form at a time rather than trying to fix everything simultaneously.
Final Thoughts
Learning archery well is a matter of sequencing. Get appropriate equipment, build the shot cycle step by step, and diagnose your progress through groupings rather than raw scores. Beginners who take this methodical approach progress faster and enjoy the sport more than those who rush toward advanced technique before the basics are solid. If you are ready to put the right equipment in your hands, Legend Archery's shop is a practical place to start.