Skip to content
 cust@legendarchery.com
 302 503 5767
 Sauk Village IL 60411
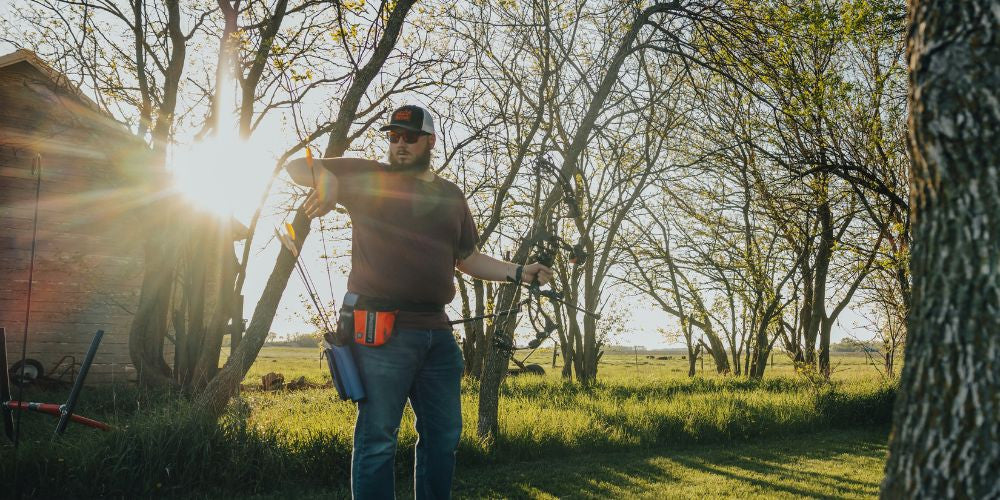
Every archer hopes to hone their skills and consistently improve their shooting accuracy. The goal is to become a better marksman over time, and archers spend hours on end going over different shooting drills to ensure they have an easier time hitting the bull’s eye.
Companies that sell archery accessories and gear also understand this. That is whyhref they always try to come up with new products that can help provide an extra edge for archers looking to refine their skills. However, regardless of how great your accessories are, it’s still of paramount importance that you personally work on your form and archery shooting skills.
In this article, you’d be learning five pointers that will help you improve your form and boost your overall shooting accuracy.
Tips For Optimizing Shooting Accuracy
Find Your Anchor Point

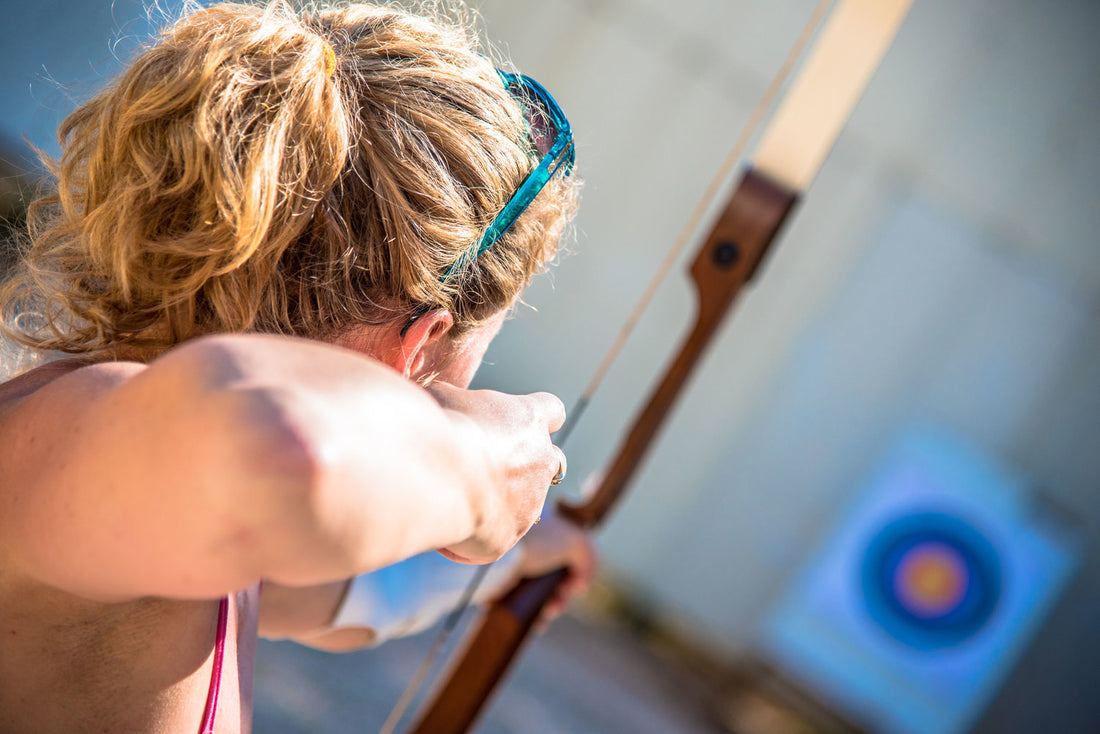
When you’re able to fire an arrow from the same point every time, you’ll find it much easier to master the flow and become more accurate. This is why the anchor point is so important.
The anchor point is a spot on your face that your bowstring hand should touch each time you draw your bow. The slightest variations in your anchor point can cause significant variations in where your arrows hit the target, making your shots feel inconsistent. Having a consistent anchor point is important because it helps to give you consistency in drawing.
No two archers have the same anchor point; some archers prefer to anchor their draw hand close to their jaw, while others might choose somewhere on their cheek. The anchor point depends primarily on your shooting style, so you don’t need to have the same anchor point as someone else. Whatever makes you feel comfortable is fine.
To find your anchor point, simply pull the bowstring to full draw. Align your arm and shoulder muscles so your hand is held firmly in place. Then anchor your release hand to a point on your face that feels most comfortable and repeatable. Consistency is pivotal to archery, and anchoring is key to achieving that.
Work On Your Stance

Like the anchor point, your stance is another part of archery shooting that you can easily work on yourself.
Your stance primarily describes the placement and control of your lower body before you fire your arrow. A proper stance gives you complete control over your body and helps you maintain stability.
The stance acts as the foundation of your shot. A solid and repeatable stance gives you the proper posture and stability necessary to optimize shooting accuracy and reinforces your ability to consistently shoot accurately.
Some components of a proper stance include:
- Your feet standing firm on the ground, a shoulder-width apart or slightly wider
- Your hips rolled forward to push your weight more towards the balls of your feet
- Standing with a good posture. Avoid leaning, bending, or creating a hollow back.

There are three common archery stances:
Square Stance
The square stance is highly recommended for beginner archers and ideal for most archers. Many Olympic archers still use the square stance as it’s easier to learn and maintain consistency than other options. The square stance also improves efficiency due to natural alignment between your feet, hips, and shoulders,, ensuring you don’t strain your muscles so much.
With the square stance, your feet should be placed parallel to the shooting line, equidistant to each other, and about a shoulder width apart. Your hips, shoulders, and feet should be aligned, and your feet should be perfectly square, although you can slightly rotate them outward.
Open stance
The open stance is a preferred option for archers who find the square stance uncomfortable or unstable. Such archers might find the open stance more natural and less straining.
Like the square stance, the open stance requires you to place your feet on both sides of the shooting line at about a 45-degree angle to the target. However, here, your front foot is slightly behind your back foot and open towards the target. This means your front foot must be a few inches further back and angled outward.
The open stance involves slight upper body rotation and essentially opens up the body, making it ideal for experienced archers. It offers more stability in windy situations and can improve the bow-shoulder alignment.
Closed stance
The closed stance is basically a mirror image of the open stance. Instead of putting the front foot back, you push it forward and keep it slightly ahead of the back foot. Your front foot could also be angled away from the target, although the angle will be much less than the open stance.
The closed stance is more difficult to operate, so few archers use it. However, it provides more muscle relaxation for your back and provides more structural stability.
Improve Your Grip

Once you master the anchor point and stance, the next step will be your overall bow grip. How you hold the bow significantly affects where the arrow will end up, so you need to build a formidable grip.
The ideal grip is relaxed but firm. A relaxed grip will cradle the bow and allow it to jump forward during the shot. Your grip should also be flexible and comfortable enough to be repeated the exact way on other shots.
To improve your grip, keep the following in mind:
Slide your hand to the arrow shelf
The arrow shelf lays just above the grip. It is where your arrow is placed before it is fired. Move your hand up into the grip’s throat - the deepest part of the bow grip.
Rotate the hand
Turn your hand to ensure an approximate 45-degree angle to the riser. This way, you get to reduce hand torque and eliminate the possibility of a wrist slap.
Grip the bow

For beginners, it’s best to grip the bow between your thumb and lifeline (also known as the thumb pad or thenar eminence). This position is best because it uses fewer muscle groups and puts less strain on your hand.
Remember to ensure that the bow grip doesn’t cross the lifeline. Tightly gripping the bow places your forearm in line of the string, a common reason archers hit their arms.
Relax your hand
Your hands should be void of any tension and rigidity to reduce torque transfer that can prevent your arrows from flying consistently as each shot is fired. For shot consistency, a relaxed hand is more than ideal.
If you have trouble relaxing your hand, try installing a wrist sling to your bow. You can get the N550 Paracord Wrist Sling to ensure a snug and stable bow grip while you shoot.
Optimize Your Breathing
When we become nervous, we tend to hold our breath. And as an archer, there’s a tendency for you to want to do the same. You’ve aimed down your sight, got the right stance, and are just one move away from hitting the target. So, you just choose to hold your breath.
There are many arguments about breathing. Many believe that holding your breath just before you shoot helps you to stabilize your body and focus. On the other hand, others believe this isn’t necessary since you can still breathe slowly to maintain your body’s balance.
There are primarily three breathing techniques for most archers that can help with shooting accuracy:
- Classic: Here, you take a deep breath, exhale entirely, then take a half-breath in and let it out slowly while you aim. This is the easiest breathing technique.
- Breath and a half: You take a deep breath, let half of it out, then hold through while you fire the arrow. If you’re not moving, this is pretty ideal.
- Super saturate: Take a deep breath before drawing, then another while drawing, and a third as you settle your sight. You then exhale about a quarter of your air while you shoot. Only experts will probably love this one.
The Follow Through

If you’re a golf or basketball enthusiast, you’d have heard “follow through” a couple of times. Well, it is also quite crucial to archery.
The follow-through is no more than the reaction to the fired arrow. When the arrow leaves the bow, your bow arm should move towards the target while your release arm should move away from it. This movement sequence occurs naturally as you release your shot, but be careful to keep your eyes on the target until your arrow strikes the target. You can follow these easy steps to determine the dominant eye you've got.
Follow-through is critical in archery because it is the finishing point of an archer’s form. The entire process of firing a good shot happens in less than a second. Your follow-through shows what you were doing in that critical time, and a good follow-through shows that you stayed with the shot and your muscles were relaxed towards its conclusion.
Conclusion

As you work towards improving your archery shooting skills, the biggest challenge will be optimizing your shooting accuracy. However, as you progress in your archery journey, you should bear in mind that accuracy is never a one-day thing. It takes considerable time and effort to become consistently accurate, and you need to be committed to practice and learning.
Also, remember that archery accessories play a significant role as you hope to optimize your shooting accuracy, and we have some of the best options available on the site.