Skip to content
 cust@legendarchery.com
 302 503 5767
 Westfield IN 46074

Target archery is the foundation of almost every formal shooting discipline — from backyard practice to Olympic competition. If you're just starting out, the learning curve feels steep, but the core mechanics are straightforward once you understand what actually matters. This guide breaks down the fundamentals of the sport, covers the gear decisions that matter early on, and flags the mistakes that slow most beginners down.
What Target Archery Actually Involves
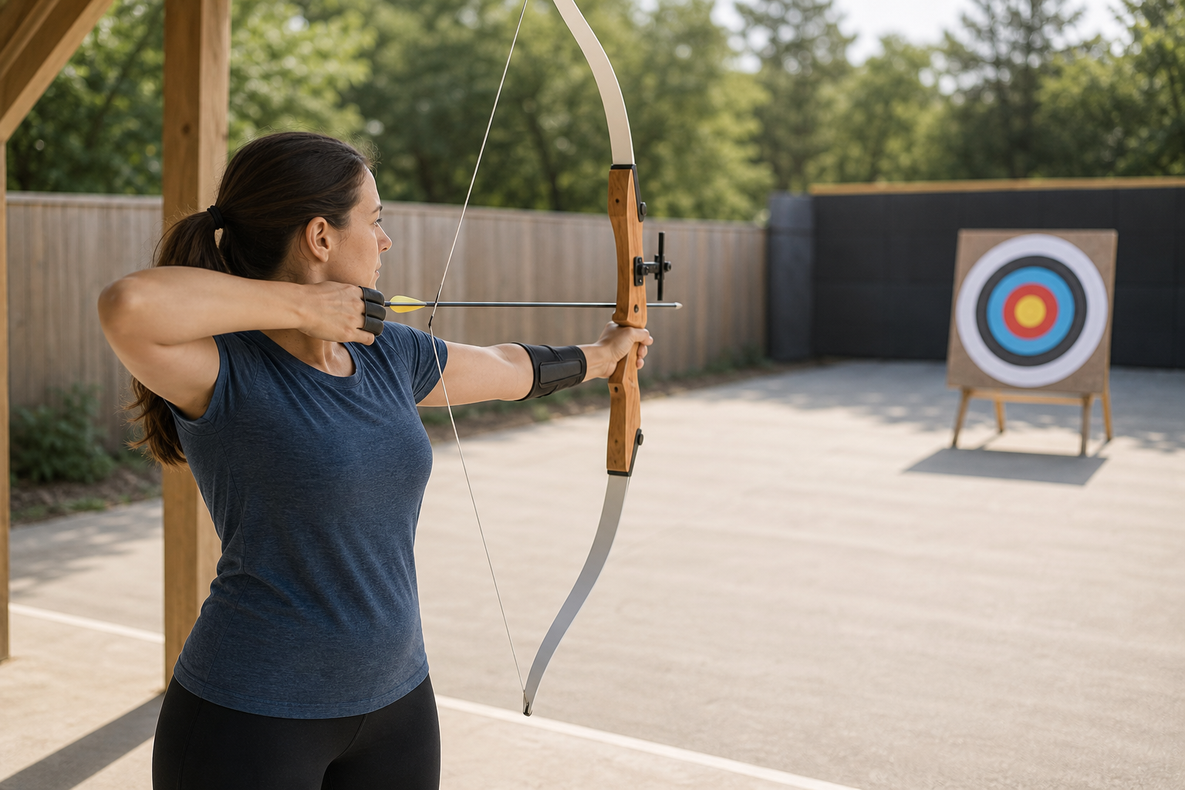
At its core, target archery means shooting arrows at a stationary circular target face from a fixed distance. The target face is divided into concentric scoring rings, with the highest value zone — typically the gold or X-ring — at the center. Distances vary by discipline, age group, and equipment class, but common beginner distances start between 10 and 20 meters indoors and extend further outdoors as skill develops.
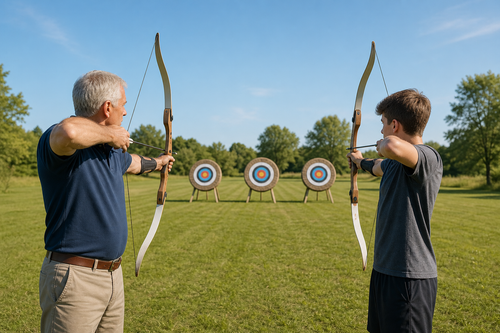
The two most common bow types used in the sport are recurve and compound. Recurve bows are the style used at the Olympic Games and are widely recommended for new archers learning traditional form. Compound bows use a cam-and-cable system to reduce holding weight at full draw, which many shooters find easier to manage over long practice sessions. Both are legitimate starting points — the right choice depends on your goals and the type of club or coach you have access to.
Core Principles of Sound Archery Form
Good technique in archery is built on a small number of repeatable fundamentals. Each element feeds into the next, so a weakness in one area creates problems downstream.
Stance
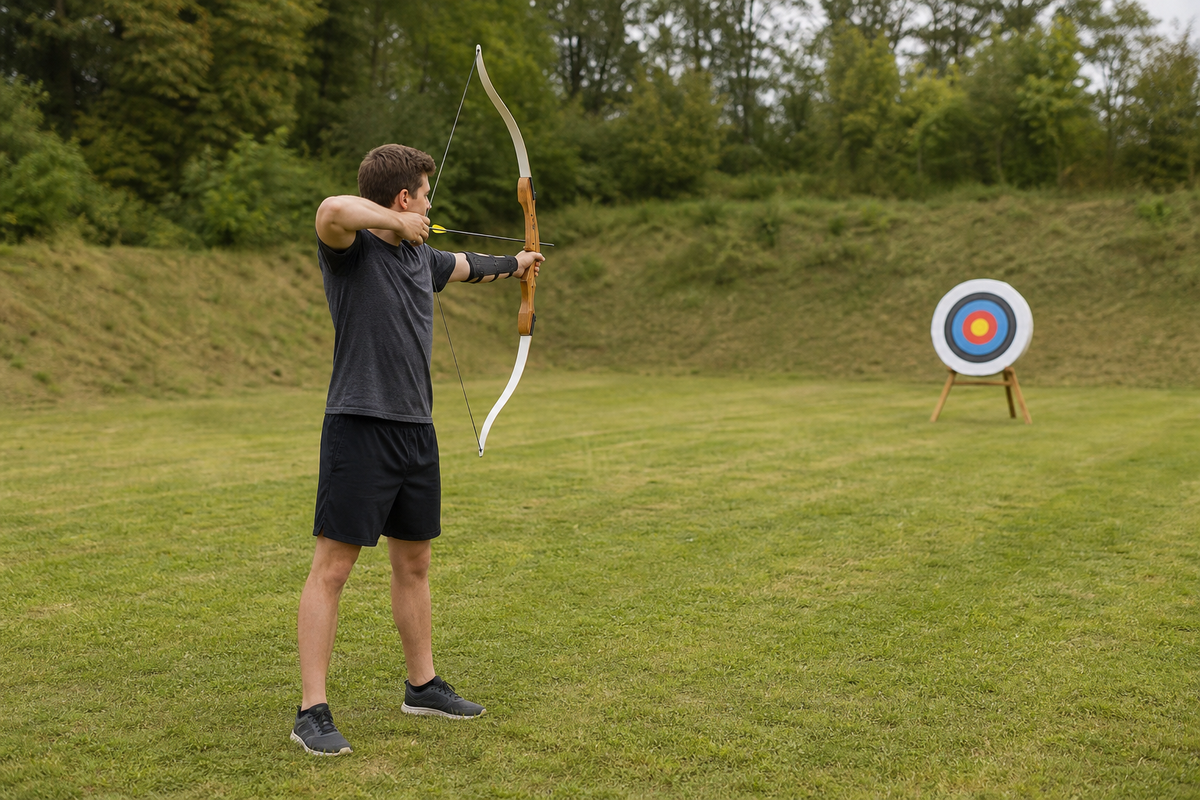
Your stance sets the base for every shot. Most beginners use either a square stance (feet parallel to the shooting line) or an open stance (front foot angled slightly toward the target). An open stance generally offers better shoulder alignment and is favored by many coaches for recurve shooting. Your feet should be approximately shoulder-width apart, weight distributed evenly.
Grip
A tight grip is one of the most common causes of inaccuracy in new archers. The bow should rest against the meaty base of your thumb — the thenar eminence — with the fingers relaxed. Death-gripping the handle torques the riser at the moment of release and scatters shots unpredictably. Low-wrist or high-wrist grips each have their advocates, but the key point is consistent, relaxed pressure every time.
Draw and Anchor
The draw arm pulls the string back using the large muscles of the back, not just the bicep and forearm. This is where many self-taught beginners develop bad habits — relying on arm strength leads to fatigue, inconsistency, and potential injury over time. The anchor point is where the draw hand consistently contacts your face at full draw. Common anchor points include the corner of the mouth, the chin, or under the jaw depending on the bow style and aiming method.
Aiming
Recurve archers typically use a sight pin aligned with the target, though some shoot instinctively without a sight. Compound shooters often use a peep sight in the string combined with a front sight for a two-point reference system. Regardless of method, the eye, sight, and target should align consistently before the shot breaks.
Release and Follow-Through
A clean release means the fingers or thumb button relax smoothly without the draw hand punching forward or the bow arm dropping prematurely. Follow-through — holding your position after the arrow has left the bow — is not just a coaching cliché. It reflects whether your shot was executed cleanly or whether muscle tension disrupted the string path at the last moment.
Setting Up Your Practice Space
Before you even think about shooting, you need a safe and functional setup. Indoors, a basement or garage with adequate clearance works well for short distances. Outdoors, you need enough depth behind the target to safely stop any arrow that misses — and a proper target that can actually stop your arrows without damage.
Choosing the right archery target matters more than beginners often expect. Foam block targets, bag targets, and layered foam targets each have different stopping capabilities, durability profiles, and arrow-removal ease. Heavier draw weights and faster arrows demand denser stopping power. Starting on a target rated for your bow's draw weight prevents arrows passing through and protects your investment in arrows.
Equally important is keeping the target stable. A target that falls over mid-session wastes time and can damage arrows or the target itself. A quality archery target stand keeps your setup consistent and safe whether you're practicing in the backyard or setting up at a club range.
Understanding Scoring and Distance Progression
Standard target faces use a 10-zone scoring system with values from 1 at the outer white ring to 10 at the inner gold. Some formats include an X-ring inside the 10 used as a tiebreaker at competitive level. As a beginner, chasing scores too early is a trap — the priority should be grouping arrows consistently regardless of where that group lands. A tight group in the 6-ring is more useful feedback than scattered shots across the 8 and 9 rings, because a tight group tells you your form is repeatable and your sight just needs adjusting.
Start at shorter distances than you think you need. At close range, form errors show up clearly in your arrow groups. Moving back too quickly masks technique problems with distance-related variance and slows overall development.
Common Mistakes Beginners Make
- Gripping the bow too tightly. This introduces torque at the moment of release. Practice with a relaxed hand and let the bow fall forward naturally into a wrist sling.
- Anchoring inconsistently. If your draw hand doesn't land in exactly the same position every shot, your point of impact will shift. Use tactile references — string to nose, thumb to jaw — to build muscle memory.
- Drawing with the arms instead of the back. Archery is a back-dominant activity. If your forearms and biceps are doing the heavy lifting, you'll fatigue quickly and your shots will degrade across a session.
- Rushing the shot. Target panic — the urge to release the moment the sight floats near the gold — is common and harder to fix once ingrained. Train yourself to hold steadily through the aiming process before releasing.
- Skipping warm-up and cool-down. The shoulder, rotator cuff, and elbow joint take real stress in archery. Light stretching before and after shooting prevents the overuse injuries that sideline many beginners within their first few months.
- Starting at too high a draw weight. A bow you can't draw smoothly and hold steadily teaches you nothing useful. Most coaches recommend starting lower than you think necessary and building up as technique improves.
- Ignoring arrow spine selection. Arrows that are too stiff or too weak for your setup won't fly correctly regardless of how good your form is. Arrow spine should match your draw length, draw weight, and point weight.
Building a Consistent Practice Routine
Progress in archery comes from deliberate, focused repetition rather than volume alone. A 30-minute session with full attention on each shot will advance your skills faster than two hours of mindless repetition. Keep sessions short enough to maintain good form throughout — once fatigue sets in, continuing only reinforces bad habits.
Using a training journal to note draw weight, distance, arrow groups, and any form cues you're working on gives you a feedback loop to track improvement. Video analysis — even a simple phone propped against a bag — can reveal form errors that feel invisible from the inside.
Frequently Asked Questions
How far should a complete beginner start shooting?
Most coaches recommend starting between 5 and 10 meters indoors, or around 15 to 20 meters outdoors. At close distances, form errors show up as tight but off-center groups, which is useful information. Moving back too quickly makes it harder to identify what's actually causing the error.
Does draw weight matter for target archery beginners?
It matters a lot. Starting at a draw weight you can hold comfortably at full draw — without shaking or rushing — lets you focus on form. For most adults starting out, this is somewhere between 20 and 35 pounds depending on physical conditioning. You can always increase draw weight incrementally once your technique is solid.
What mistakes slow beginners down the most?
Inconsistent anchoring and gripping the bow too tightly account for the majority of accuracy problems in new archers. Both are habit-based issues that are easy to develop and harder to unlearn, which is why getting coaching early — even just a few sessions — pays off significantly compared to self-teaching from videos alone.
How do I know if my arrows are the right spine for my setup?
If your arrows are consistently hitting left or right of where you're aiming even after correcting your form, spine mismatch is a likely cause. An arrow that's too weak will flex too much and hit in a predictable direction based on your bow hand. Consult your bow's specifications and an arrow selection chart, or ask a pro shop to help you match spine to your setup.
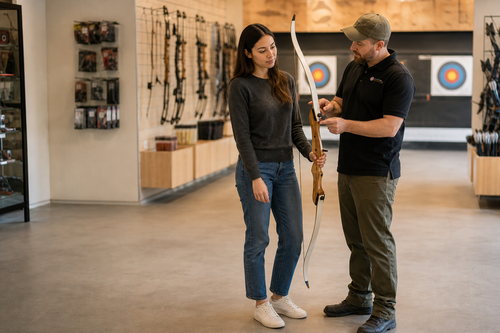
Getting Started with the Right Equipment
You don't need to spend a lot to start shooting well. A well-fitted entry-level recurve or compound bow, correctly spined arrows, a reliable target, and a stable stand are the genuine essentials. Resist the urge to buy accessories before you have consistent form — a sight won't fix grip torque, and a better stabilizer won't fix an inconsistent anchor.
If you're ready to put together your first setup, focusing on quality fundamentals over quantity of gear will serve you far better in the early months.
Final Thoughts
Target archery rewards patience and process. The archers who improve fastest are usually not the ones with the best initial talent — they're the ones who commit to understanding each part of the shot and correcting problems methodically. Build your form before you build your draw weight, and build consistency before you chase scores.