Skip to content
 cust@legendarchery.com
 302 503 5767
 Westfield IN 46074


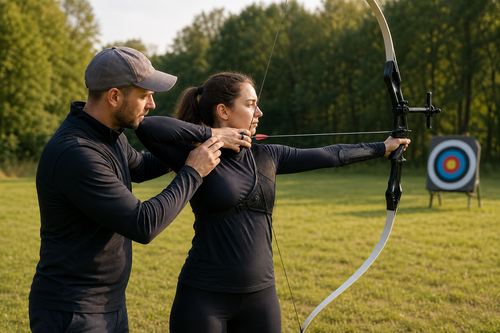
Whether you shoot a recurve, compound, or traditional longbow, having a dedicated space to practice at home removes one of the biggest barriers to consistent improvement: access. Learning to build your own indoor range does not require a large budget or a warehouse, but it does require careful planning around safety, space, and materials. This guide walks you through the core decisions you need to make before the first arrow flies.
Why a Personal Indoor Range Is Worth the Effort
Club memberships and public ranges are valuable, but they come with scheduling constraints, travel time, and limited access during peak hours. A home range—even a compact one—lets you shoot at six in the morning or practice form drills during a lunch break. Consistency is the single most reliable driver of improvement in archery, and a private space makes consistency far easier to maintain.
Indoor ranges also protect your practice from weather. Rain, wind, and extreme cold shut down outdoor sessions and erode your training schedule. An indoor setup keeps you shooting year-round without interruption.
Core Principles Before You Start Building
Space Requirements
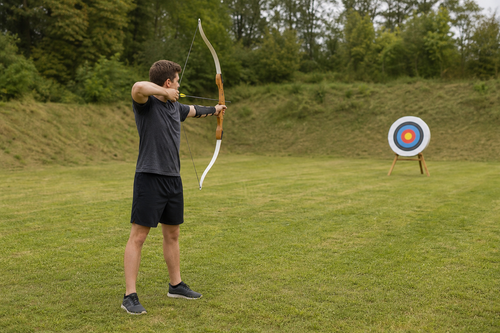
The minimum usable lane length depends on your draw weight and the bow type you shoot. For most recurve and compound setups used indoors, a lane between 18 and 20 yards is practical and aligns with standard indoor competition distances. Shorter distances—10 to 15 yards—work for form work and beginners, but experienced shooters will quickly outgrow them.
- Width: A single lane needs at least 5 feet of clear width. Add 2 to 3 feet on each side if you plan to use a full-size target butt.
- Height: Minimum 8 feet of overhead clearance is recommended. High-draw longbows may need more.
- Depth behind the target: Always allow at least 3 to 4 feet of clearance behind your backstop for overpenetration and arrow deflection.
Backstop and Target Selection
The backstop is the most critical safety component in your range. It must stop any arrow that misses the target face, including deflected shots and complete pass-throughs on worn targets.
- Foam layered targets: Dense layered foam stops broadheads and field points cleanly. They wear over time but are easy to replace or rotate.
- Bag targets: Filled with synthetic fiberfill or plastic bags, these are affordable and portable. Less effective against broadheads.
- 3D targets: Useful for hunting practice but take up more space and may not be ideal as a primary indoor backstop.
- Wall-mounted curtain backstops: Heavy-duty rubber or layered fabric panels mounted to a wall provide a reliable secondary stop behind your primary target.
For a fixed home range, a combination of a quality foam target butt and a wall-mounted rubber curtain gives you redundant protection. Never rely on a single layer of material as your only backstop.
Flooring and Lane Surface
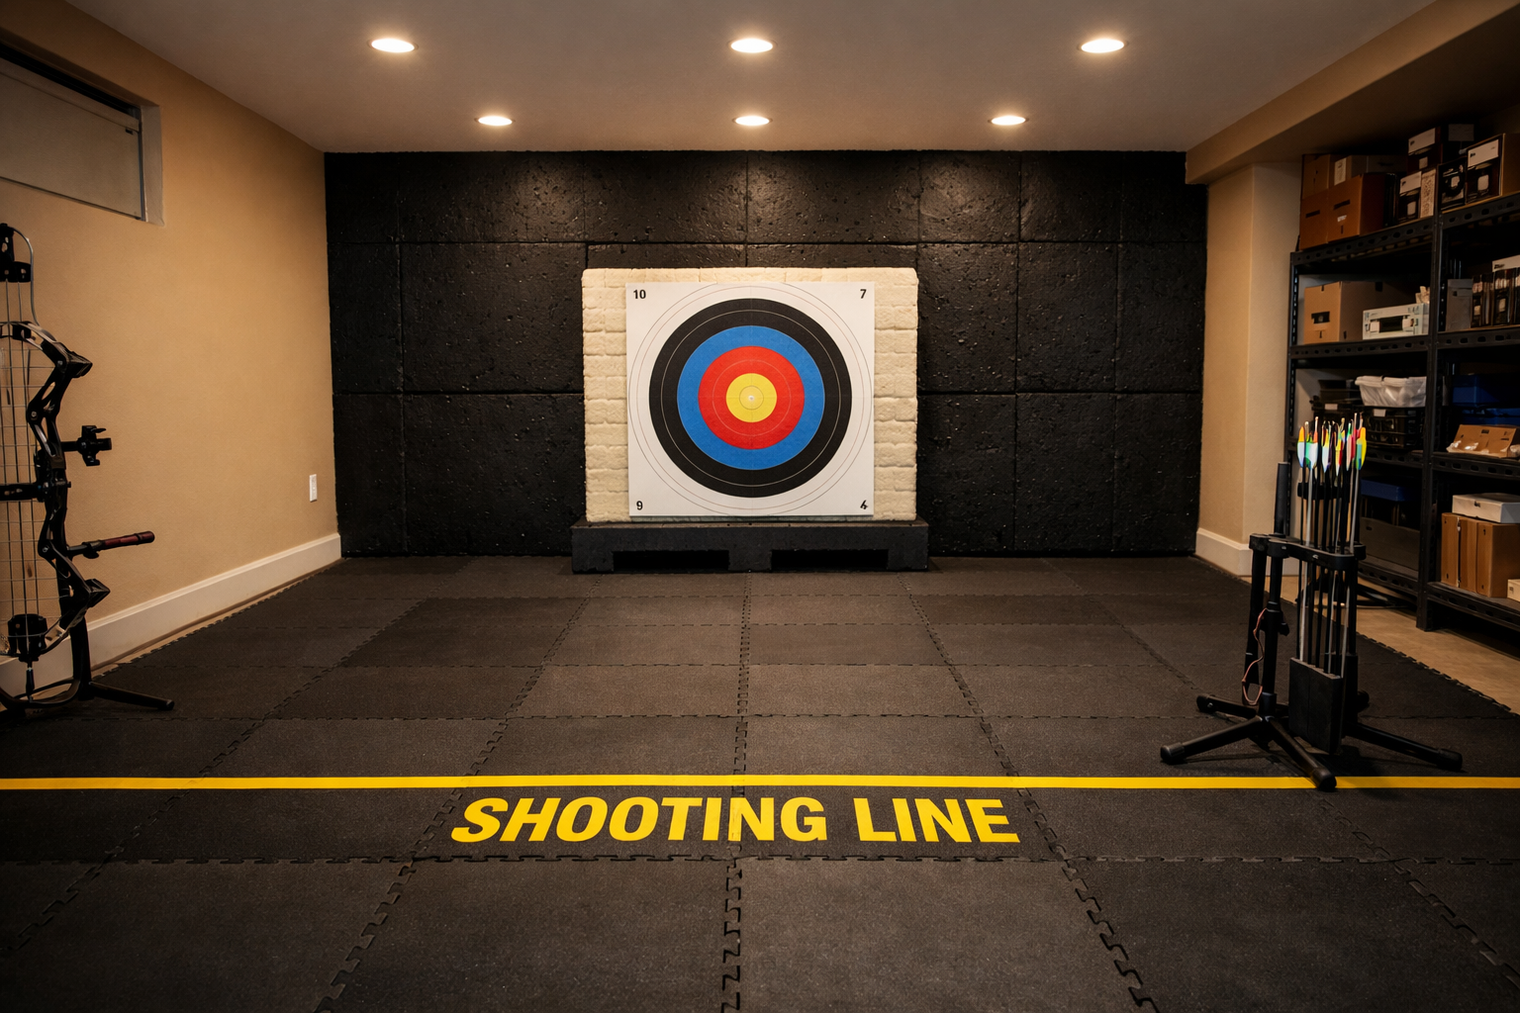
Hard concrete floors are tough on arrows that skip along the ground after a missed shot. Rubber mat flooring, even inexpensive utility mats, absorbs impact and protects your shafts. It also reduces fatigue during long sessions if you are standing on bare concrete.
Lighting
Poor lighting is one of the most overlooked problems in home range setups. Shadows on a target face make it difficult to read your groupings accurately, and inconsistent lighting can actually affect your aiming perception over time.
- Position lights so they illuminate the target face evenly without casting shadows from the target frame.
- Avoid positioning lights directly behind the shooter, as this creates silhouette conditions that distort depth perception.
- LED shop lights mounted to the ceiling above and slightly in front of the target are a practical and affordable solution.
Practical Guidance for a Safe and Functional Setup
Before reading the full details below, it is worth reviewing these 7 tips before setting up your own archery range for a concise pre-build checklist that covers several safety and planning points in one place.
Wall and Ceiling Protection
Even experienced archers send errant shots occasionally. Protect walls beside and behind the target with materials that stop or significantly slow an arrow. Stacked foam panels, horse stall mats, or purpose-built archery wall padding all work. Bare drywall will not stop a modern arrow at any useful draw weight.
Ventilation
If your range is in a basement, garage, or enclosed room, ventilation matters more than most archers anticipate. Target materials—particularly certain foam compounds—can off-gas over time. Adequate airflow keeps the space comfortable and functional for long sessions.
Arrow Organization and Safety Protocols
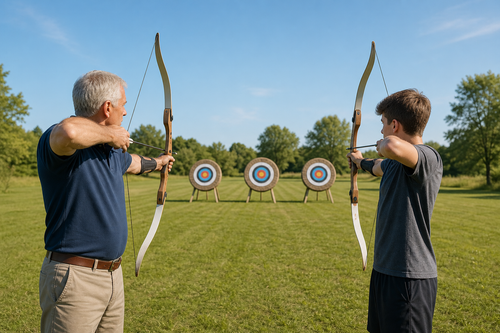
Even in a solo range, establishing consistent safety habits is non-negotiable. Post a simple rule card near the shooting line:
- Only one person at the shooting line when arrows are nocked.
- Always verify the target area is clear before drawing.
- Never dry-fire a bow in the space, even for testing.
- Keep a first aid kit accessible in the room.
Common Mistakes When Setting Up an Indoor Archery Range
These errors appear repeatedly in home range setups and most are avoidable with a bit of planning:
- Underestimating backstop depth: A single foam block against a bare wall is not adequate. Always layer your stopping materials and leave clearance behind them.
- Ignoring ricochet angles: Arrows hitting the outer edge of a target can deflect sideways at surprising angles. Make sure side walls within the first 6 feet behind the target are also protected.
- Choosing the wrong lane length for your bow: A 10-yard lane may feel fine for the first few sessions but becomes limiting quickly. Build for slightly more distance than you think you need today.
- Skipping floor protection: Bare concrete destroys carbon and aluminum arrows on impact. Rubber matting is inexpensive insurance.
- Poor target height: The center of your target face should sit at approximately your shoulder height when you are at full draw. Targets placed too low encourage compensating form habits.
- Inadequate lighting on the target face: Uneven or insufficient lighting makes grouping analysis unreliable and strains your eyes over time.
- No defined shooting line: A physical mark or tape line on the floor sounds trivial but creates a consistent reference point for every practice session.
Equipping Your Range
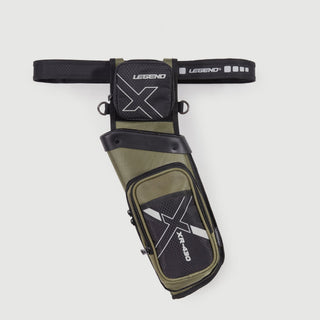
Once the physical space is set up, you will need a reliable selection of targets, arrow pullers, and maintenance tools. Browsing new archery products can help you identify current target options, quivers, and accessories suited to an indoor practice environment. Keeping spare target faces, fletching materials, and a nocking tool accessible in the range saves time between sessions.
Frequently Asked Questions
How much space do I actually need to set up a home archery range?
For a functional single lane, plan on a minimum of 20 yards in length, 5 to 6 feet in width, and at least 8 feet of ceiling height. You also need 3 to 4 feet of depth behind the backstop for safety. Shorter spaces work for very close-range form drills but limit your practical training options.
What is the safest backstop material for an indoor home range?
Layered dense foam target butts combined with a secondary wall-mounted rubber or layered fabric curtain behind them give you the most reliable protection. No single material should be treated as a complete stop on its own. The goal is redundancy.
What do beginners get wrong when setting up their first indoor range?
The most common issues are underestimating how much backstop coverage they need, choosing a lane that is too short for their bow type, and neglecting floor and side wall protection. New shooters often focus entirely on the target itself and overlook the surrounding environment.
How do I improve my practice once the range is built?
Structure matters as much as space. Set specific goals for each session—whether that is tightening groups at a fixed distance, practicing blank bale form drills, or working on your release timing. A well-built space gives you the opportunity to practice deliberately, but the quality of your sessions determines how much you improve.
Final Thoughts
A home indoor range does not need to be elaborate to be effective. The essentials are a safe backstop system, adequate lane length for your bow, proper lighting, and consistent safety habits. Get those foundations right and you will have a practice environment that serves you reliably for years. If you are still in the planning phase, revisiting the archery range setup tips is a worthwhile step before committing to materials.