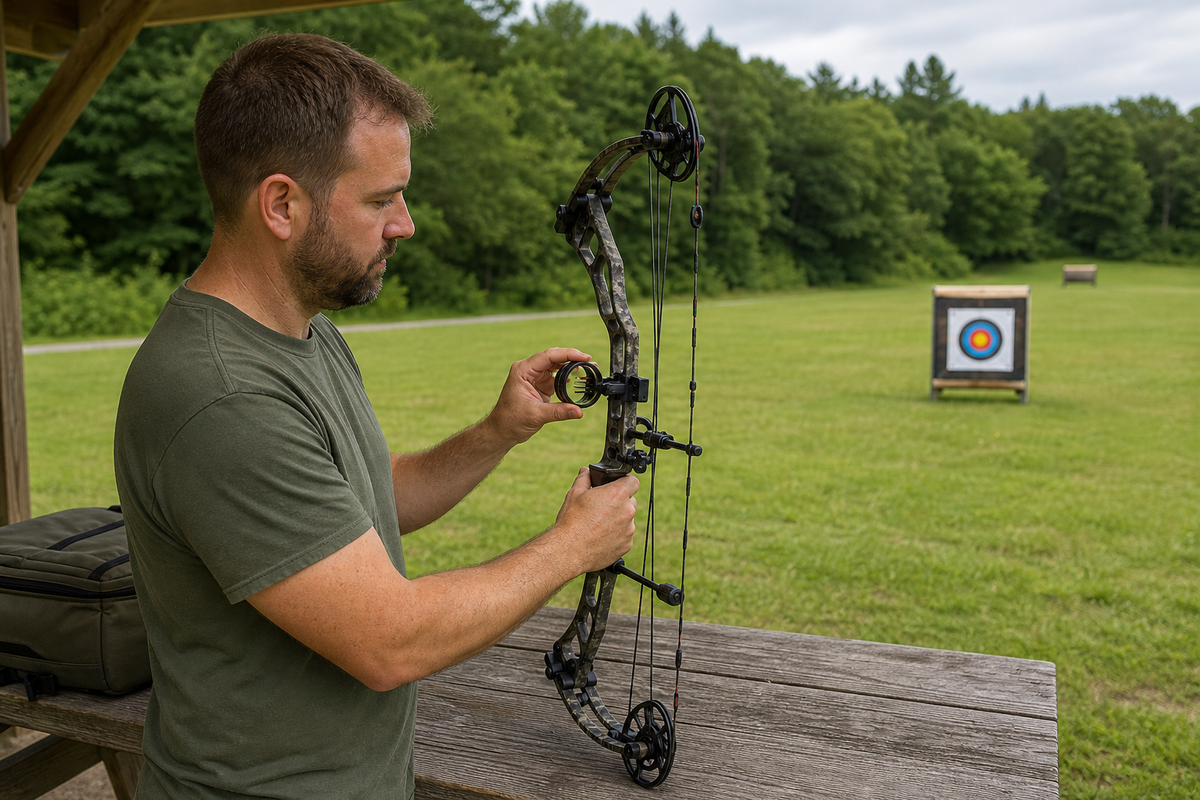
A 3-pin bow sight gives archers a practical solution for shooting at multiple distances without swapping equipment mid-session. Done right, each pin becomes a reliable reference for a specific yardage. Done wrong, even a quality sight will send arrows in the wrong direction. This guide covers the full process, from your first anchor shot to confirming your final pin settings.
Who This Guide Is For
This tutorial is written for compound bow shooters who are new to multi-pin sights, or who have struggled to get consistent results after purchasing or switching sights. It assumes you already have a sight mounted to your bow and that your arrow rest and nocking point are roughly set. If you are still dialing in those components, sort those out first — a bow sight cannot fix a poorly tuned arrow shelf or a crooked nock point.
Why Getting the Pin Gaps Right Actually Matters
Each pin in a 3-pin sight corresponds to one distance — typically 20, 30, and 40 yards for most recreational and hunting setups, though some archers use 20, 25, and 30 yards for tighter indoor work. The spacing between those pins is not arbitrary. It follows the natural arc of your arrow's trajectory, which changes based on your draw weight, arrow weight, and draw length. Copying someone else's pin gaps from the internet and expecting them to work on your bow is one of the most common reasons archers end up frustrated. Your setup must be tuned to your specific equipment and shooting form.
Getting this right also matters for safety and efficiency in the field. A pin that is even a few clicks off at 40 yards can mean a miss of several inches. That margin is unacceptable in bowhunting situations and disappointing in target practice.
What You Need Before You Start
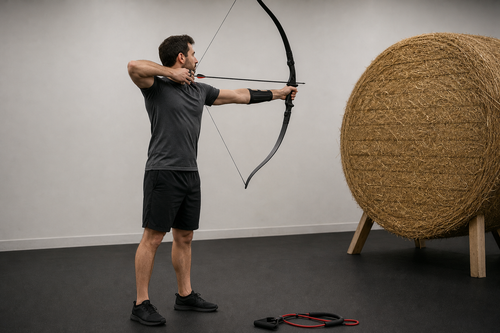
- A consistent shooting form — If your anchor point shifts between shots, your groups will be too inconsistent to trust during setup. Practice a repeatable draw cycle before you begin.
- A measured shooting range — Use a tape measure or laser rangefinder to confirm your distances are accurate. Pacing off yardage introduces error.
- An Allen wrench set — Most bow sights use standard hex screws for windage and elevation adjustments.
- A target with a clear aiming point — A blank bale with a small dot or a standard target face works well.
- Enough arrows to shoot consistent groups — You need at least three to five identical arrows per session to identify a true center rather than reacting to a flier.
- A bow sight level — Canting your bow while shooting will throw off every pin setting. A bow sight level helps you maintain a consistent vertical reference throughout the process.
- Patience — Budget a full practice session, not just twenty minutes.
Step-by-Step: Setting Each Pin for Its Distance
Step 1 — Start at Close Range With Your Top Pin
Begin at 20 yards. Use only your top pin — this will become your shortest-distance reference. Shoot a group of three to five arrows at the center of your target. Do not adjust after every single arrow. Let the group tell you where the sight needs to move.
Remember the fundamental rule: move the sight in the direction the arrows are hitting. If your group is hitting low, move the sight housing down. If arrows are hitting left, move the housing left. This feels counterintuitive at first, but it is correct.
Step 2 — Dial In Windage First, Then Elevation
Windage (left-right correction) should be corrected before elevation (up-down) whenever possible. A sight that is centered horizontally gives you a cleaner baseline for reading vertical error. Make small adjustments, then shoot another group. Repeat until your group is consistently centered on the aiming point at 20 yards.
Step 3 — Lock the Windage and Move to 30 Yards
Once your 20-yard pin is zeroed, lock the windage adjustment. For most compound bows, windage should not change significantly between distances — if it does, that usually signals a torque or form issue. Move back to 30 yards and use your middle pin. Shoot a group and adjust only the elevation on the middle pin. Leave the windage alone unless the group is dramatically off-center.
Step 4 — Set the Third Pin at 40 Yards
Repeat the same process at 40 yards with your bottom pin. By this point, you may notice a consistent left or right drift that shows up at all distances — that is a form or torque problem worth addressing separately. For now, adjust only the individual pin's elevation to center your 40-yard groups vertically.
Step 5 — Confirm All Three Distances in Sequence
After setting all three pins independently, run a full confirmation session. Shoot your 20-yard pin at 20 yards, your 30-yard pin at 30, and your 40-yard pin at 40 — in sequence, without stopping to re-adjust. This reveals whether your form is consistent and whether any pins have shifted slightly during the adjustment process. Make only micro-corrections if needed.
Common Mistakes to Avoid
- Reacting to individual arrows instead of groups — One wild arrow is usually a form error, not a sight problem. Always evaluate groups of three or more.
- Moving the wrong component — Some sights allow you to move the entire housing or individual pins. Know which one you are adjusting before you turn any screw.
- Skipping the level check — Even slight bow cant changes where arrows land, especially at longer distances. Use a level consistently across every shot during setup.
- Setting pins on a windy day — Wind affects arrow flight more than most beginners expect. Sight-in on calm days when possible.
- Trying to set all three pins in the same session on day one — If your 20-yard pin is not solid, your 30 and 40 will be built on a shaky foundation. Master each distance before moving to the next.
- Ignoring arrow weight changes — If you switch to a heavier or lighter arrow, your pin gaps will change. You will need to re-zero at minimum your longer-distance pins.
How to Check Your Result
A properly sighted-in 3-pin setup should produce consistent groups within a few inches of center at each respective distance, assuming your form is repeatable. Here are a few ways to verify the result:
- Shoot each distance blind — step up without previewing your previous arrows, aim, and release. This removes the temptation to compensate for drift you've already noticed.
- Have a second person observe your bow cant and grip during a group. What feels square sometimes looks canted to an outside eye.
- Switch the order of distances during practice. If your 40-yard pin is accurate but your 20-yard group has drifted, check whether your anchor point changes with the shorter shot.
- Record your pin positions with masking tape markings or a photo. If the sight is ever bumped or disassembled, you will have a reference starting point.
If you shoot your bow at tournaments, range days, or in the field and need to transport it safely between sessions, a reliable case makes a real difference in keeping your sight settings intact. Legend Archery carries a range of compound bow cases designed to protect your gear in transit.
Frequently Asked Questions
How do you actually zero a 3-pin sight without chasing individual arrows?
Shoot groups of three to five arrows before making any adjustment. Identify where the center of the group lands, then move the sight housing or pin toward that impact point. Adjust, shoot another group, and repeat. Never change your sight settings based on a single arrow.
What tools do I actually need to set up a bow sight at the range?
At minimum, you need a measured range, an Allen wrench set matched to your sight's hardware, identical arrows, and a clear aiming point. A bow sight level is strongly recommended — it removes cant as a variable and makes your groups more reliable during the adjustment process.
Why do my pins seem right at 20 yards but fall apart at 40?
Longer distances amplify small errors — in form, in bow cant, and in pin placement. If your 20-yard zero is solid but 40 is inconsistent, the most common causes are bow torque in the grip, inconsistent anchor point, or a sight that was bumped after the 20-yard session. Rule out form issues before making additional pin adjustments.
How do I know when I'm actually done and don't need to keep tweaking?
When you can shoot three consecutive groups at each distance, in sequence, and all groups center within an acceptable radius for your goals, you are done. For hunting applications, most archers aim for groups within four to five inches at their maximum distance. For target practice, tighten that standard based on your experience level.
Final Thoughts
Setting up a 3-pin bow sight is a methodical process, not a guessing game. Work through one distance at a time, trust your groups over individual arrows, and check your level on every shot during setup. Once all three pins are confirmed, document your settings and protect your bow between sessions so nothing shifts before your next range day.