Skip to content
 cust@legendarchery.com
 302 503 5767
 Westfield IN 46074



Every archer eventually faces a bow that isn't performing the way it should — a creaking limb, a fraying string, a tiller that's drifted out of balance. Knowing how to fix a bow yourself is a skill that saves money, protects your equipment, and keeps you shooting safely. This guide covers the most common repairs and adjustments, the tools you'll need, and the mistakes that can turn a minor issue into a costly one.
Why Bow Maintenance and Repair Actually Matter
A bow is a precision instrument under significant stored energy. A small fault — a worn serving, a loose limb bolt, or an incorrectly set brace height — doesn't just affect accuracy. It can cause equipment failure during a shot, which is both dangerous and expensive. Regular inspection and timely repairs extend the life of your bow, protect your arrows, and keep every session on the range as consistent as possible.
This is especially true for recurve archers, where limb condition and string geometry directly control arrow flight. If you shoot a recurve bow, understanding the basics of limb inspection and string replacement is part of being a responsible archer.
What You Need Before You Start
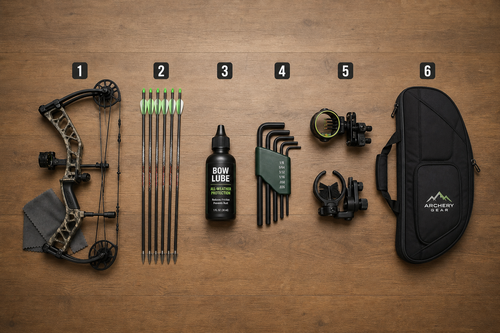
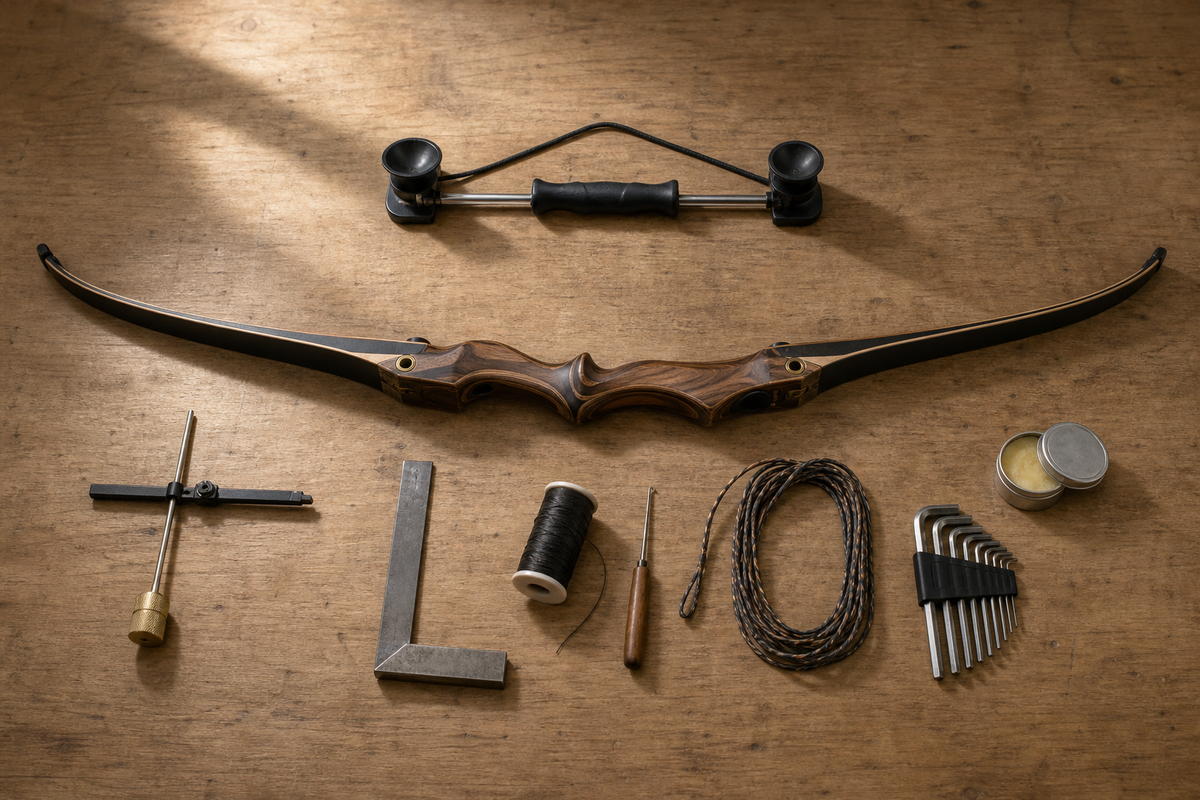
Gathering the right tools before you begin prevents you from stopping mid-repair and risking further damage. Here's what a basic bow repair kit should include:
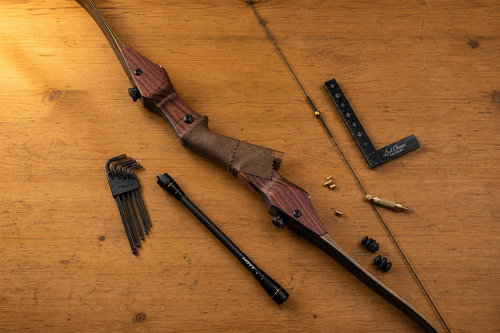
- Bow stringer — essential for safely stringing and unstringing recurve and longbows without twisting limbs
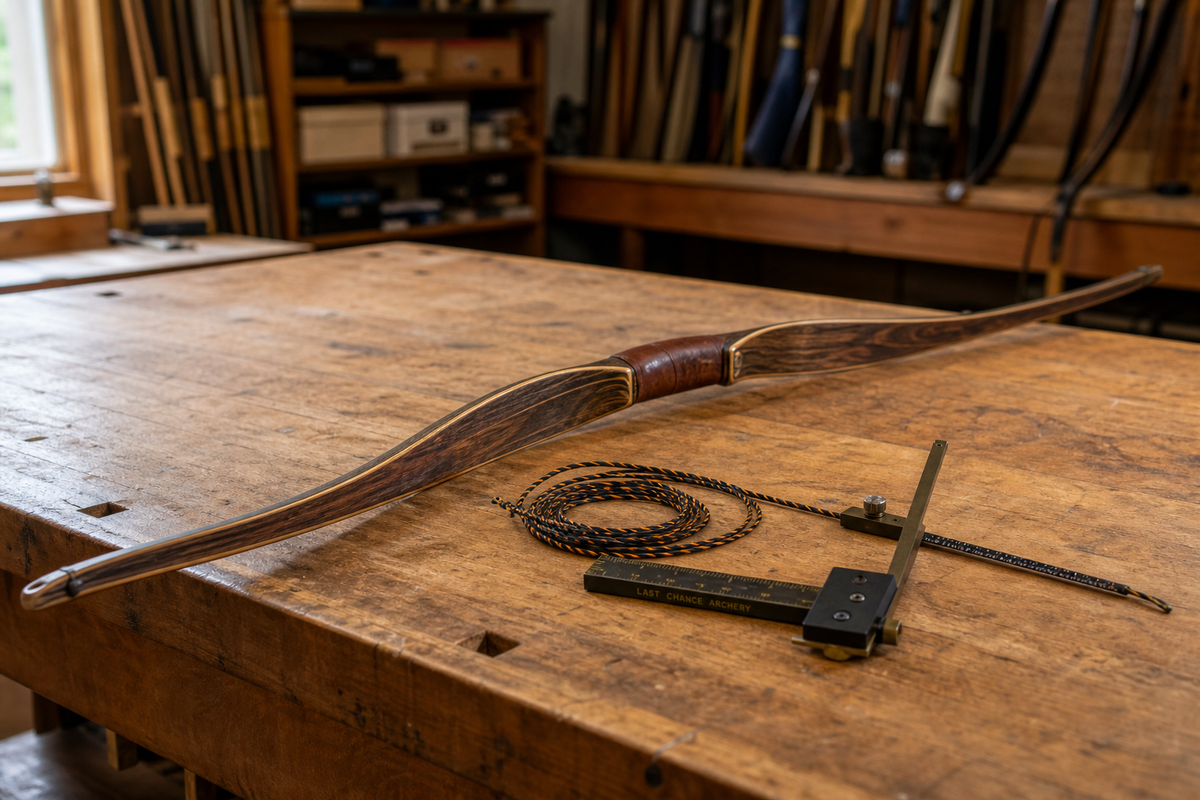
- Brace height gauge — measures the distance from the string to the pivot point of the grip
- Allen keys (hex wrenches) — for limb bolts, sight mounts, and accessory hardware on compound bows
- Serving thread and serving tool — for repairing worn center serving or end servings on the string
- Bow square — helps check nocking point position and tiller
- String wax — for conditioning and protecting the string after repairs
- Replacement string — matched to your bow's length (the string length specified for that bow) and material specifications
- Limb alignment tool or press — compound bow repairs often require a bow press; never attempt to remove compound string or cables without one
If you're working on a youth bow or a beginner recurve, the process is generally more straightforward. Still, even simple bows deserve careful handling.
Step-by-Step: How to Fix a Bow
Step 1 — Identify the Problem
Start with a systematic visual inspection before touching any hardware. Lay the unstrung bow flat and work from one limb tip to the other:
- Look for cracks, delamination, or warping in the limbs
- Check the string for fraying, broken strands, or worn serving
- Inspect limb bolts and riser hardware for looseness
- On a compound, check cams and cables for wear, timing marks, and cam lean
- Verify the nocking point hasn't shifted on the string
Write down what you find. A methodical diagnosis prevents you from fixing one symptom while missing the root cause.
Step 2 — Unstring the Bow Safely
For recurve and traditional bows, always use a bow stringer. Step-through stringing by hand is one of the leading causes of twisted limbs and limb tip damage. Attach the stringer to both limb tips, step on the cord, and flex the bow smoothly until the string loops slide free.
For compound bows, the limbs remain under tension even when the bow is at rest. A bow press is required to relieve that tension before you can safely remove the string or cables. If you do not own a press, this step should be handled by a qualified pro shop technician.
Step 3 — Address String and Serving Issues
A frayed serving is one of the most common problems archers encounter. If the serving has unwound but the underlying string strands are intact, you can re-serve that section using serving thread and a serving tool. Wrap firmly and consistently, keeping even tension throughout. Secure both ends with a half-hitch or overhand finish.
If the string shows broken strands, kinking, or significant fuzz beyond normal surface wear, replace the entire string rather than patching it. A compromised string under load is a safety risk. When fitting a new string, ensure it matches the correct length for your bow model — an incorrect length changes brace height and draw weight.
Step 4 — Set the Correct Brace Height
After stringing, measure the brace height using a gauge from the string to the deepest point of the grip. Most recurve manufacturers specify a recommended range in their bow documentation. If the brace height is too low, the bow will be louder and less forgiving. Too high, and you lose some arrow speed; too low, and the string can slap your forearm and the bow gets noisy.
Adjust brace height on a recurve by adding or removing twists in the string. Adding twists shortens the string and raises the brace height. Remove twists to lower it. Make small adjustments — two or three twists at a time — and re-measure each time.
Step 5 — Check Tiller and Limb Alignment
Tiller is the difference in brace height measured from the string to the base of each limb. On a recurve set up for a center-shot arrow rest, a small positive tiller (upper limb measuring slightly more) is typical, though exact values depend on bow design and the archer's draw style. Use a bow square to take consistent measurements.
On take-down recurves, tiller is adjusted by tightening or loosening the limb bolts. Make quarter-turn adjustments and recheck after each. Never remove a limb bolt completely while the bow is under string tension.
Step 6 — Lubricate and Condition
Apply string wax to the full length of the string, avoiding the center serving and end loops. Work it in by pinching the string and sliding your fingers along it to generate mild heat. Wipe away excess. Lubricate any metal pivot points on your sight or rest according to the manufacturer's guidance. Do not apply oil or wax to limb surfaces.
Step 7 — Do a Pre-Shot Safety Check
Before drawing the bow again, confirm: limb tips are fully seated in string loops, no cracks appeared during the re-stringing process, brace height is within spec, and all hardware is secure. Draw the bow slowly to full draw once without an arrow, checking for any unusual sounds or resistance. Only then is it safe to return to shooting.
Common Mistakes to Avoid
- Stringing without a bow stringer — risking permanent limb twist on recurve and traditional bows
- Ignoring small cracks — a hairline crack in a limb will propagate under load and can cause catastrophic failure
- Over-tightening limb bolts — this can strip threads or crack limb pockets, especially on budget risers
- Replacing only half the problem — if one limb is damaged on a matched set, replacing only that limb can create a tiller imbalance
- Working on a compound without a press — the stored energy in compound limbs makes this genuinely dangerous without the correct equipment
- Using the wrong string length — changes brace height, draw weight, and can stress limb tips beyond their design tolerance
- Skipping the final safety check — after any repair, draw slowly and let down — never release without an arrow
How to Check That the Repair Worked
A successful repair should result in a bow that meets its original brace height specification, has a clean and undamaged string, shows no limb deformation, and shoots quietly without hand shock. If the bow was grouping consistently before the fault developed, groups should return to their previous standard once the issue is corrected.
If arrow flight remains erratic after you've addressed string and brace height, consider whether your nocking point has shifted or your arrow rest needs realignment. Tuning and repair often overlap — fix the equipment first, then tune.
For archers who also need to transport their repaired bow safely to the range, keeping it protected between sessions matters just as much as the repair itself. Explore Legend Archery's bow case collection to find protective storage suited to your bow type.
Frequently Asked Questions
How do you fix a bow without making it worse?
The safest approach is to identify the exact fault before touching anything, use the right tools for your bow type (especially a bow stringer for recurves and a press for compounds), and make incremental adjustments rather than large ones. If you're uncertain at any point, stop and consult a qualified bow technician rather than guessing.
What mistakes do archers most often make when repairing a bow?
The most common errors are stringing a recurve by hand instead of using a stringer, patching a string that should be replaced entirely, ignoring visible limb damage, and attempting compound string work without a bow press. Each of these can result in additional damage or a safety hazard.
What tools do you actually need to repair a bow at home?
At minimum: a bow stringer, a brace height gauge, a bow square, a set of Allen keys, serving thread with a serving tool, and string wax. For compound repairs, add a bow press to that list — it's non-negotiable for any work involving the string or cables.
How can you tell if the repair was actually successful?
Check that brace height is within the manufacturer's specified range, the string is undamaged and properly served, all hardware is secure, and the bow draws without unusual noise or resistance. Shoot a small group at close range and compare it to your normal grouping before the fault appeared.
Conclusion
Most bow repairs are within reach for any archer willing to use the right tools and take a methodical approach. Diagnose before you act, work in small steps, and never rush a safety check. When a repair falls outside your skill level — particularly anything involving compound bow internals — a professional technician is always the right call.