Skip to content
 cust@legendarchery.com
 302 503 5767
 Westfield IN 46074



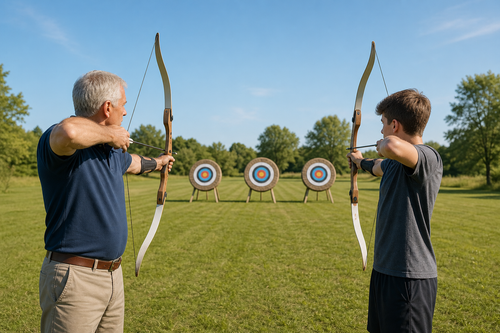
Setting up an archery range for the National Archery in the Schools Program (NASP) isn't complicated, but it does require careful attention to specific standards. Get the layout wrong and you create safety risks, inconsistent scoring conditions, and a frustrating experience for students. This guide breaks down exactly what a proper NASP archery range setup involves, why each element matters, and how to avoid the most common mistakes made by first-time program coordinators.
Why NASP Range Setup Standards Exist
NASP is one of the largest school-based archery programs in the world, operating across thousands of schools in the United States and internationally. Its range standards weren't designed arbitrarily. They exist to create a safe, consistent environment where students of all ages and abilities can learn to shoot on equal footing, regardless of whether they're in a small rural gymnasium or a large multi-purpose athletic facility.
Standardization also matters for competition. When students eventually participate in NASP tournaments, they need to have practiced under conditions that closely mirror what they'll face on the tournament floor. An improperly configured practice range can create habits and muscle memory tied to the wrong distances or positions, which puts students at a disadvantage when competing.
Beyond performance, there's a significant safety rationale. Archery involves projectiles traveling at real speed. Every spacing rule, every designated zone, every command-based shooting protocol exists because someone identified a risk and built a system to eliminate it.
Core Principles of a NASP Archery Range Setup
Shooting Distance
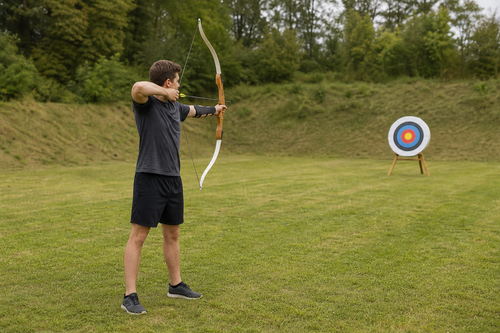
The official NASP shooting distance is 10 meters (approximately 10.9 yards) from the shooting line to the face of the target. This applies universally across all grade levels — elementary, middle school, and high school students all shoot from the same distance in NASP. The distance was chosen because it is achievable for beginners using the standardized Genesis bow while still requiring real technique and focus to score well.
When setting up your range, measure this distance precisely. Use a measuring tape from the shooting line — not the waiting line — to the front face of the target bale. Even a half-meter error will affect arrow groupings and, at scale across dozens of students, creates an inconsistent learning environment.
Target Placement and Bale Spacing
Each target bale must be spaced far enough apart that archers shooting side by side have no risk of crossfire. NASP guidelines require a minimum lane width to ensure arrows travel to their intended target and not into an adjacent lane. In practice, most NASP coordinators work with the available facility width and divide it into lanes, ensuring adequate separation between each shooting position.
Targets should be placed so their center is approximately 4 feet from the floor — though this can be adjusted slightly based on the height of the student group. The bales must be stable, flush against the back stop or securely mounted so there is no forward tipping risk during retrieval.
Shooting Line, Waiting Line, and Equipment Line
A properly marked NASP range has three clearly designated lines:
- The shooting line: Where archers stand when actively shooting. No one crosses this line toward the targets until the command is given to retrieve.
- The waiting line: Where the next group of students stands while the shooting group is active. This is typically marked several feet behind the shooting line.
- The equipment line: The boundary behind which all bows and equipment remain when not in use. Bows should never be carried forward of this line during retrieval.
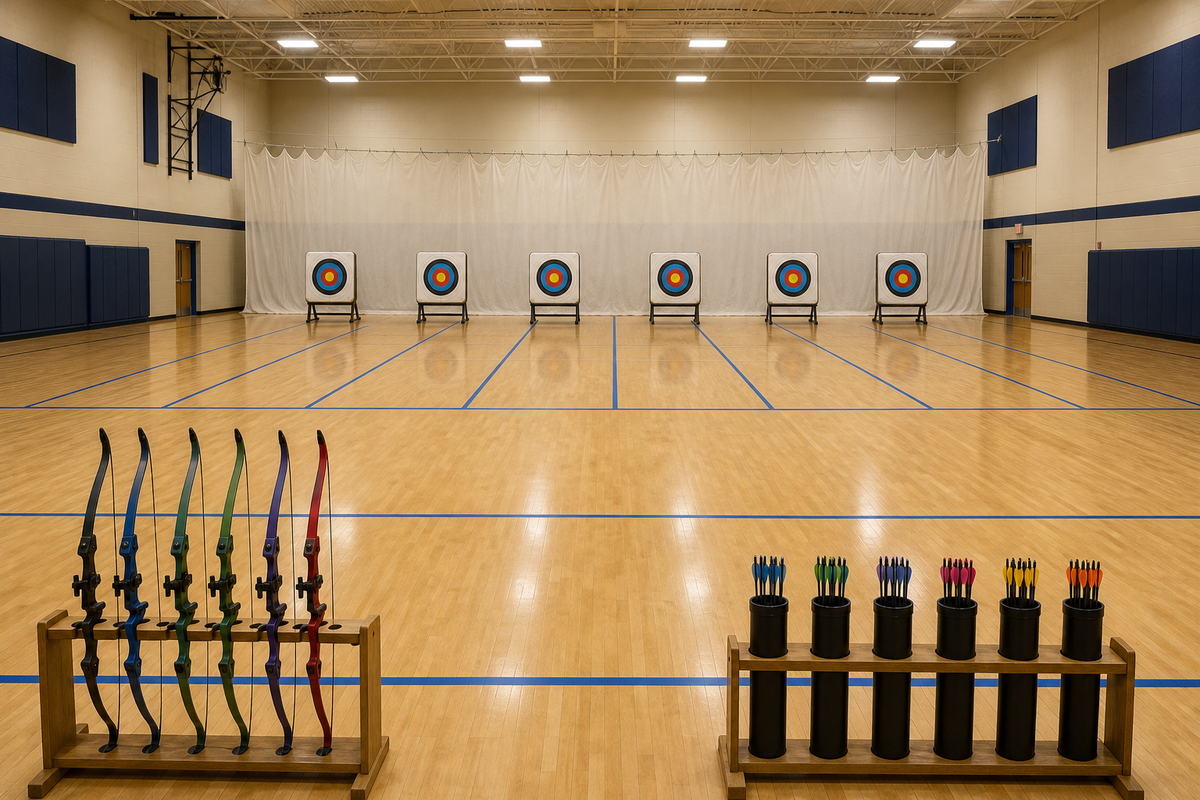
These three lines should be clearly marked with tape, paint, or physical markers on the floor. Color-coded tape works well on gymnasium floors and is easy to apply and remove without damage.
Backstop Requirements
Every NASP range must have an adequate backstop behind the targets. A backstop catches any arrow that passes through or misses a bale entirely. Thick curtain-style hanging fabric, foam panel systems, or purpose-built archery net backstops are all commonly used. If you're building a smaller personal setup rather than a full program range, our guide to building a DIY target and backstop for a home range walks through the same core principles at a smaller scale. The backstop should extend beyond the outermost lanes on each side and rise above the highest point any arrow could realistically travel given a high-angle miss.
Do not assume that a gymnasium wall is sufficient. Gymnasium walls are not designed to stop arrows, and damage to walls creates liability issues and ongoing maintenance costs.
Practical Guidance for Setting Up the Range
Step-by-Step Layout Process
- Measure the total available width of your space and calculate how many lanes fit with proper spacing.
- Mark the target line first, ensuring bales are placed at exactly 10 meters from the planned shooting line.
- Work backward from the target line to mark the shooting line, then the waiting line, then the equipment line.
- Verify the backstop spans the full target width and reaches adequate height.
- Position targets at appropriate height for your student group and confirm they are stable.
- Mark each lane number clearly above or in front of each target for easy assignment management.
- Conduct a walk-through to identify any sight-line obstructions, tripping hazards, or structural concerns.
Command Structure and Safety Protocol
Even a perfectly laid-out range becomes dangerous without a strict verbal command system — our broader rundown of archery range rules covers safety and etiquette standards beyond the NASP-specific protocol below. NASP uses a standardized set of range commands that instructors must teach and enforce from day one:
- "Archers to the shooting line" — Students move to the shooting line and prepare.
- "Begin shooting" (or a whistle signal) — Active shooting begins.
- "Stop shooting" — All shooting ceases immediately, arrows in bows are lowered or nocked down.
- "Retrieve your arrows" — Only after this command do students cross the shooting line toward the targets.
Consistency in command language is not optional. Students must respond to commands reflexively, and that only happens if the language is identical every session. Deviating from standard commands, even slightly, delays reaction time in the event of an emergency.
Common Mistakes in NASP Range Setup
- Measuring from the wrong point: Distance must be measured from the shooting line to the face of the target bale, not from a wall or any other reference point.
- Inadequate backstop coverage: Leaving gaps at the sides of the backstop or using materials not rated for arrow impact creates real risk.
- Skipping the waiting line: Some coordinators mark only the shooting line. Without a clearly defined waiting area, student groups cluster too close to active shooters.
- Unstable target bales: Bales that lean or tip during arrow retrieval create hazards and slow down sessions.
- Inconsistent lane widths: Squeezing in one extra lane to accommodate more students simultaneously is a common temptation that compromises lateral safety margins.
- No visual lane markers: Without lane numbers or floor markings, students lose their assigned positions, especially in larger group rotations.
- Ignoring lighting: Poor or uneven lighting over the target line affects both accuracy development and the instructor's ability to see what is happening on the range.
Organizing Equipment for a School Range
Efficient equipment organization keeps sessions running smoothly, especially when rotating large groups through limited range time. Bow racks near the equipment line, labeled arrow tubes assigned by lane, and a clearly designated area for personal items all reduce the chaos that comes with managing 20 to 30 students at once.
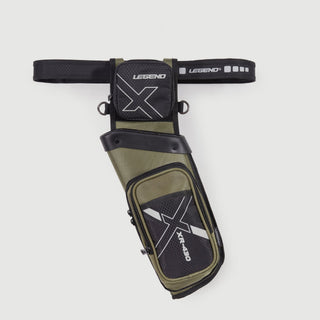
For programs that travel to tournament venues or store equipment between sessions, purpose-built archery backpacks offer a practical solution for transporting personal gear and smaller accessories without damage. Keeping equipment organized on both ends of the session — setup and teardown — saves time and reduces wear on gear over the course of a school year.
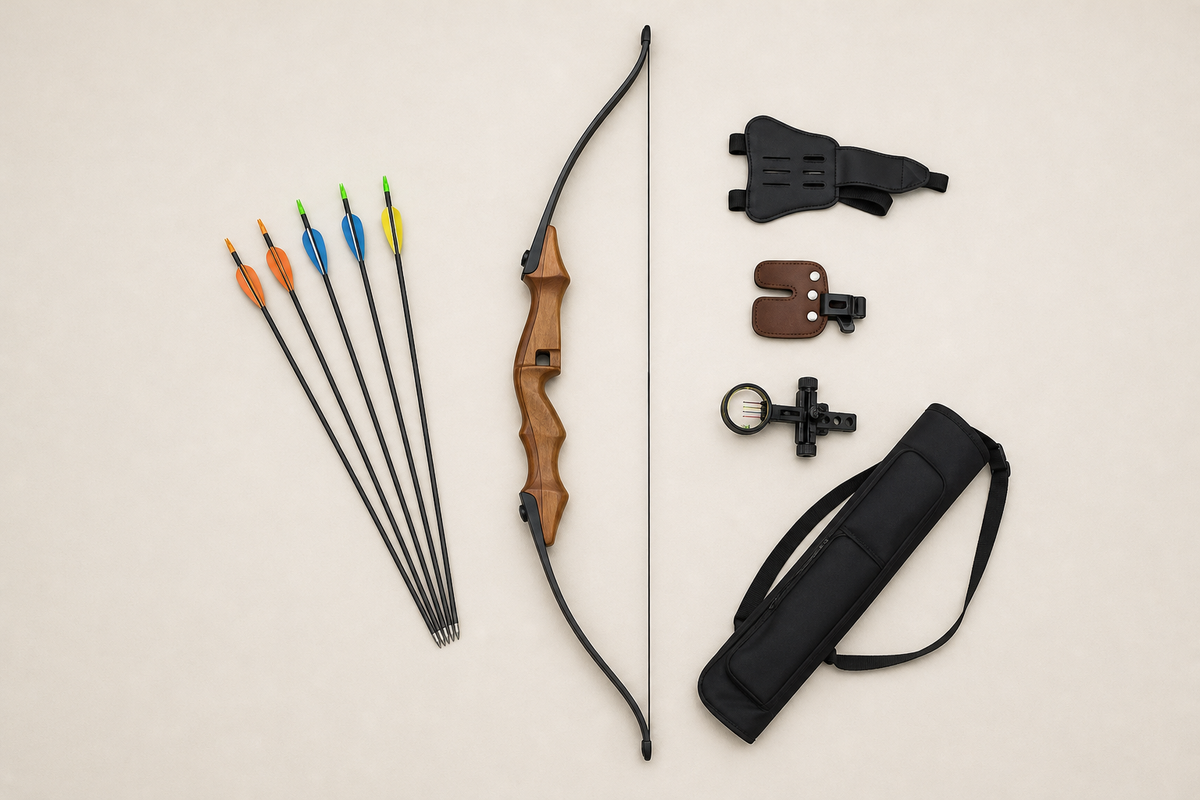
If your program is growing and you're looking to round out your equipment kit, browsing a dedicated archery shop for accessories like arrow tubes, cases, and organizational gear can help you fill gaps without overcomplicating your inventory.
Frequently Asked Questions
What exactly is NASP and why does it have specific range rules?
NASP stands for the National Archery in the Schools Program, a standardized archery curriculum used in schools across the US and in several other countries. Its range rules exist to ensure every student practices and competes under identical conditions, making progress measurable and competition fair. The safety protocols are also designed specifically for environments where non-specialist educators are supervising groups of young people with bows.
Why does the 10-meter shooting distance matter so much?
The 10-meter distance is the NASP standard for both practice and competition. Practicing at a different distance — even if only slightly off — means students are developing form and sight instincts calibrated to the wrong range. When they step onto a tournament floor at the correct distance, their muscle memory works against them. Precision in setup directly supports precision in skill development.
What are the most common mistakes beginners make when setting up a NASP range for the first time?
The most frequent errors are measuring distance from the wrong reference point, using an insufficient backstop, and failing to mark all three required lines (shooting, waiting, and equipment). New coordinators also frequently underestimate lane width requirements and try to fit more stations than the space safely allows. Starting with a conservative lane count and expanding if space genuinely permits is always the safer approach.
How can a school coordinator get better at understanding NASP range requirements?
The best starting point is the official NASP instructor certification course, which covers range setup in detail alongside curriculum and safety protocols. Beyond that, visiting an established NASP school program and seeing a correctly configured range in person is invaluable. Reading the official NASP instructor manual and connecting with your state's NASP coordinator for local guidance are also practical steps that cost nothing.
Getting Your Range Ready
A well-executed NASP archery range setup creates the foundation for everything that follows — safe habits, accurate skill development, and confident student archers. Take the time to measure correctly, mark every line, verify your backstop, and train your students on command protocol from their very first session. The details matter more than they might seem on paper, and getting them right from the start saves significant headaches down the road. For program accessories and organizational gear, explore Legend Archery's range of archery accessories to keep your setup running efficiently throughout the school year.