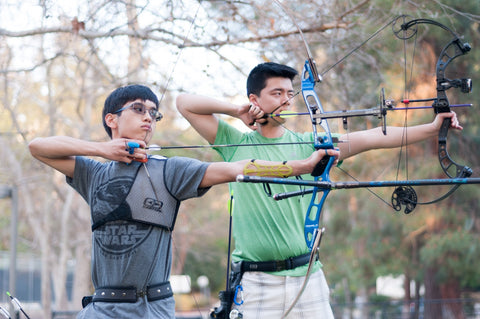
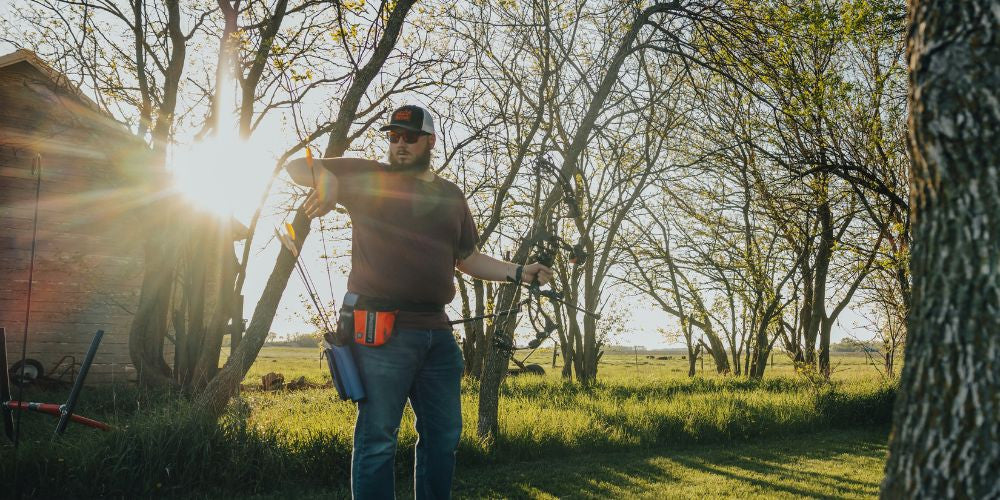
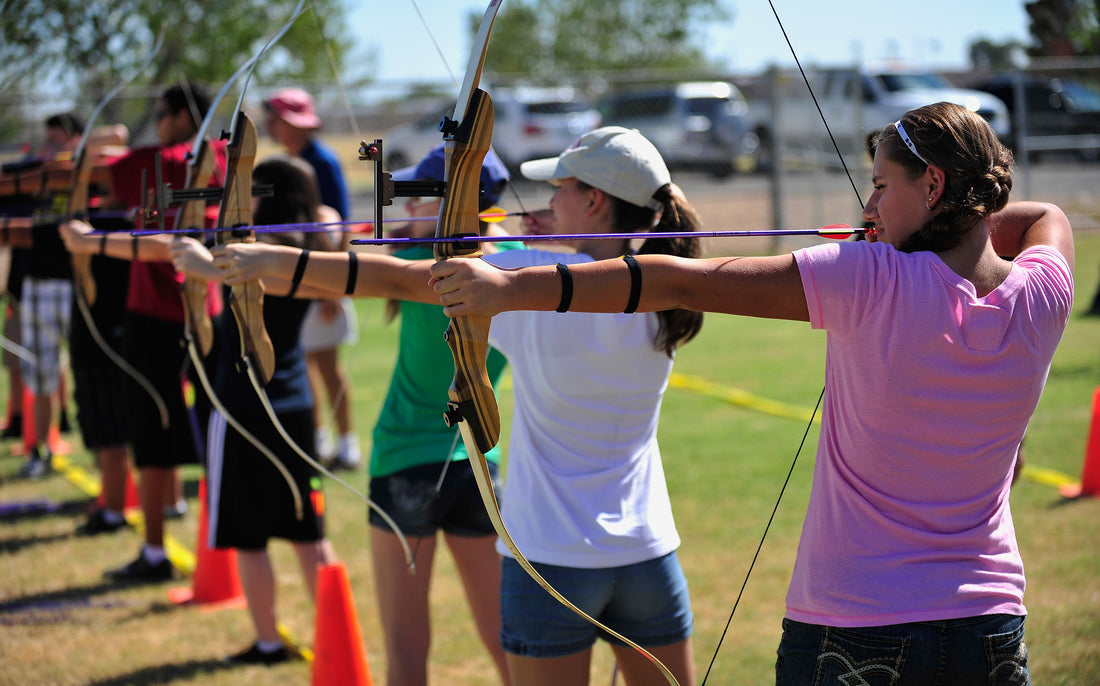
One of the first things you learn as an archer is how to assume a proper archery stance. This aspect considers everything related to how you stand and your overall body placement whenever you shoot. Choosing a stance that best supports your shooting style is critical to your success as an archer.
Your archery stance is the foundation of your shots. With the right stance, your body can maintain the stability and proper posture required to seamlessly execute each shot, making it easier for you to hold your form and aim properly. And since perfect human physiology requires the lower body to support the upper body, you’ll find that proper alignment between all body parts can’t possibly be overstated here.
In this article, we’ll look at the different types of archery stances and how they can affect the quality of your shots. We’ll also look into how you can improve your stance to keep your body in perfect alignment as you take each shot.
An Introduction to the Archery Stance

Before we look into the different archery stance options, let’s consider what a stance is and how it can actually help your shooting accuracy.
In a nutshell, your stance considers the ideal placement of your body before you fire your arrow. Over time, you can easily improve your stance to maintain proper shooting accuracy. However, without the right foundation, it will be a bit of a challenge even to grow.
A proper stance will require several things to be in place. Some of them include the following:
- Standing upright and straight, allowing you to control every part of your body involved in making the shot.
- Ideal foot placement, thus distributing your weight effectively to ensure your balance isn’t compromised.
- Keeping your knees straight even while being relaxed; not bending or locking them.
What Makes The Archery Stance So Critical?
In more ways than one, the stance forms the bedrock on which your shot is built. Consistent shots start from the ground up. With a proper stance, your body is stable and well-postured, a necessity for optimizing shooting accuracy. You also align your body accurately, thus reinforcing your ability to shoot accurately and with greater consistency which is every archer’s ultimate goal.
Archery Stance Options
 Before looking into how to optimize your archery stance, it is worth noting the different options available to you as an archer.
When taking a stance, your foot plays one of the most critical roles in optimizing posture. So, regardless of your stance, you will need to keep your feet about shoulder-width apart. From there, you can decide on which stance works best for you among the following options:
The Square Stance

This is the most popular stance option among archers because it is arguably the simplest. The square stance is considered the best option for beginners as it allows archers perfectly recreate a solid base, draw their bow, and aim accurately.
For this stance, you will need to place both your feet parallel to and on the two sides of the shooting line - the point where you’re to stand as you aim your arrow. So, one foot stays in front of the shooting line while the other stays behind it. For right-handed archers, your left foot will be the front foot, while for left-handed archers, your right foot will be the front foot. You need to keep your feet perfectly square, although it’s okay to slightly rotate your feet outward if you think this will improve your balance.
Pros & Cons
The square stance is primarily great because it is easy to learn and perform. It also capitalizes on the natural alignment that exists between your shoulders, hips, and feet. Hence, you experience much less muscle fatigue, allowing you to shoot for much longer.
That said, you should also note that this stance has a narrow shooting line base and doesn’t work so well when it’s windy. If you don’t have a low center of gravity as a person, then your stability and, consequently, your shooting accuracy in windy settings might take a bit of a hit.
The Open Stance

Like the square archery stance, the open stance requires you to place your feet on opposite sides of the shooting line. The difference, however, is that you will need to place your front foot slightly behind the back foot, with your front foot open towards the target. Basically, the front foot should be a few inches further to the back and angled outward.
To take this stance, set both feet at about a 45-degree angle, facing the target. The objective is to ensure that your feet and hips face the target as you draw and aim your arrow. If you find that your hips change position as you align your shoulders, you can push down with the leg closest to the target to open up your hips.
Pros & Cons
Unlike the square stance, the open stance is much more stable in windy conditions. And, with the slight rotation of your front foot, the stance helps you reduce any possible arching on your lower back region. Some archers even find it easier to engage their back muscles with this stance. The square stance also improves bow shoulder alignment.
That said, this stance makes it a tad difficult to learn proper vertical posture. Some archers might also find it stressful to rotate one torso and hold the position before firing the arrow, which places more stress on the lower back. Essentially, the open stance is better suited to archers with upper body strength and flexibility.
The Closed Stance

As its name suggests, the closed stance is the opposite of the open stance. Instead of keeping your front foot at the back, you place it forward - just a bit ahead of the back foot.
If you prefer, you could also angle your front foot away from the target. But, this angle should be less than that of the open stance. With the lesser foot angling, the closed stance shares a similarity with the square stance.
Pros & Cons
The closed stance is primarily advantageous because it allows you to relax your back muscles much better. So, if you’re an archer with shoulder or back issues, it might be a good option for you to consider. Like the square stance, it also capitalizes on your body's natural alignment, making it more comfortable and ideal for long shooting sessions.
Only a few archers go with this shooting position because it’s more difficult compared to the other options. And since your foot is angled away from the target, you need more work to get optimal shooting accuracy. Also, if you turn your feet a bit too far from the target, you run the risk of a wrist slap. You might want to get a forearm protector to prevent this - or, at the very least, minimize its effects. You can also check out how to stop hitting your arm when you shoot here.
How to Find Your Archery Stance

So what archery stance works best for you? Before going ahead, you should know there’s no right or wrong answer. You can choose any stance you prefer as long as your body feels comfortable and the stance feels natural to you.
Factors such as your anatomy, shooting circumstances, personal preference, and comfort can easily determine the right stance for you. It is also important to pay attention to your natural body position when you’re at full draw, as it can determine what stance suits you best.
That said, you might want to give this exercise a try:
- Take a square stance and draw your bow as you focus on a target center
- Close your eyes and hold the shooting position
- After about 10 seconds, open your eyes and see if your aim has shifted. If it did, then perhaps the stance wasn’t right for you.
- Do the same with the open and closed stances, and see if your aim shifts
Whichever stance allows you to keep your aim consistent is usually your best bet.
Generally, experts recommend that beginners start with the square stance. It’s usually the easiest to learn and gives effective results. But if, after practicing it, you realize it’s not quite the best option for you, then you could always try the other options.
Additional Tips When Practicing Your Archery Stance

- Straddling the line: If you’re right-handed, your left foot is your forward foot. The reverse applies if you’re left-handed.
- Keep your feet shoulder-width apart: When you’re over the shooting line, always stand with your feet about shoulder-width apart. If your body sways as you aim, then your feet are either too close or too far apart.
- Be consistent: When you eventually choose a stance, keep with it. Be consistent with your practice, as this will help develop your strength, muscle memory, and overall shooting endurance.
- Maintain a good posture: Always remember to stand tall and straight. This improves your shooting accuracy and consistency over time. Bend your knees slightly to improve stability and balance. Keep your back straight, as excessively arching your lower back can lead to injury.
- Relax: Focus on relaxing your chest, torso, and hips in a balanced position to reduce muscle strain. Relaxed shoulders are critical to a proper stance, as tense shoulders will hamper your shooting accuracy.
- Keep your head straight: Remember not to hold your head back or forward. Keep your chin even with the ground, and maintain that position as you face downrange.
- Settle in at full draw: Once you're anchored and at full draw, settle in and relax. At this point, you should not experience any tension or discomfort. When this is in place, you are good to continue with your shooting sequence.
Conclusion
As an archer, there’s a lot that goes into getting the perfect shot. Beyond having the best archery gear and accessories and working out as much as possible, you also need to be intentional about having a proper shooting posture - which starts from your stance.
A proper archery stance provides a stable foundation for the rest of your archery form, ensuring that you’re able to rightly position your body and support your shot. We’ve outlined the different archery stance options available above, and you can get started practicing which one works best for you. cust@legendarchery.com
 302 503 5767
 Sauk Village IL 60411


