Skip to content
 cust@legendarchery.com
 302 503 5767
 Whitestown, In 47075
Archery is a really enjoyable hobby that's accessible to anyone. If you're a beginner, you have countless things to consider before picking up a bow for the first time. Understandably, your first question will be how you hold the bow.
What is the proper bow grip? How do you draw the bow? Are there different rules for a left-handed person? So many questions enter your mind surrounding this topic, so allow us to answer them all. Read on, and you will soon know how to hold the bow for the first time.
Beginner Archer's Guide On How To Hold a Bow and Arrow
Before you attend archery classes, the thought of this hobby can seem intimidating. However, this is only because you see people shooting arrows down a range and it can feel quite scary.
Realistically, it's not that intimidating at all. Like other sports or hobbies, you just need a bit of practice to get going. Once you get to grips with things like the bow string and bow grip, everything gets a lot easier.
There's no need to worry, we will cover everything throughout this guide. Some of the basic steps a beginner archer should know include:
- The right stance to take before shooting
- How to grip an arrow
- Understanding what bow arm you have
- Learning how to get a good grip on the bow itself
- Knowing how to grip the bow string
- Placing the arrow on the arrow rest
- Nocking the arrow
- Drawing your bow string back
That's basically all there is to it, and we will also cover a few of the common mistakes when handling arrows or gripping your bow. In the next section, you'll see a more detailed rundown of the main steps in properly handling a bow and arrow for the first time in your life!
How to Properly Hold a Bow and Arrow
Before you do anything else, you have to know which hand to hold the bow in.
Now, this may sound counter-intuitive, but your dominant hand is not the hand you hold the bow in. Instead, you will hold it in the opposite one. So, if you are right-handed, place the bow in your left hand. If you are left-handed, the bow goes in your right hand.
To confuse things even further, you will see many bows labeled as either a left-handed bow or a right-handed bow. Contrary to what you think, a left-hand bow is held in your right hand, while a right-handed bow is held in your left hand.
Furthermore, your dominant eye also comes into account. Your dominant eye is the eye that you see the best with. It's very important to archery as you will be looking at the target with one eye. Figure this out as it can impact the bow you choose.
For instance, if you are right-handed but your left eye is your dominant eye, you should choose a right-handed bow. But, if you're left-eye dominant, and right-handed, you are cross-dominant and should opt for a left-handed bow. Similarly, individuals that are left-handed but right-eye dominant will need a right-handed bow.
Once you've figured out whether you need a right or left-handed bow, you can begin following the next steps:
Take A Proper Stance
Every archer has their own preference in terms of the stance they take when shooting. However, new archers should only concern themselves with these three options:
- Square stance
- Closed stance
- Open stance
In most cases, you should start with a square stance as it is the most balanced option. Of course, it all comes down to personal preference so wriggle around, adjust your feet, and find a stance that gives you the most stability and comfort.
Hold Arm at 20-30 Degrees
The next step is picking up your bow. Here, you will take your non-dominant hand and put it perpendicular to the floor.
Next, you need to rotate your non-dominant hand until your arm is at a 20-30 degree angle. At this point, focus on relaxing all your fingers.
Now, you are ready to pick the bow up and keep it in this position, at this angle.
Hold Bow By Grip
For the third step, you have to rest the bow's grip on your hand. You can find the grip on the riser, and it should settle between your thumb and index finger.
It is really important to keep your hand relaxed at this point to naturally form a pocket in your palm. Let your fingers gently wrap around the bow as it fits into this pocket.
Loosen Grip on Bow
A relaxed grip is extremely critical for every archer. Take your bow hand and ensure that all your fingers are nicely relaxed while you grip the bow.
One thing to aim for is to have your index finger and thumb lightly brushed against one another. Your other fingers should be lightly curled around the handle of the bow.
The more practice you have, the looser your grip will get - and this is a good thing.
Load Arrow Onto Rest
The arrow rest is the part of your hand that the arrow will rest on. This is why hand position is so important, and why a loose grip is needed. If the grip is too tight, too much torque is created, twisting the bow and leading to an uneven flight.
Simply draw your arrow - don't grip it by the feathers - and load it on the arrow rest. Nock the arrow and you will hear it snap into place.
Pick The Proper Drawing Technique
Now, you are ready to draw the bow string back. Naturally, there are different techniques you can use to do this.
Traditionally, they are as follows:
- Finger draw
- Pinch draw
- Thumb draw
The finger draw uses two or three fingers to draw the bow string back into place. A traditional finger draw will have the fingers below the arrow. However, you could opt for a Mediterranean draw that will have one finger above the arrow and either one or two fingers below it.
Almost all archers use a finger draw technique because it is so reliable.
Pinch draw is not recommended for any bow with a draw weight above 10lbs as it simply is not good enough.
Alternatively, there's the thumb draw method. This is usually used in Asia and involves wrapping your thumb around the string with your index finger above it. It's quite strange and complicated, so beginners shouldn't focus on it too much.
So, opt for the finger grip and pull your string all the way back until you feel maximum tension and it won't go any further. Here, you have achieved a full draw of the bow.
Common Issues With Gripping The Bow
The most common mistake with a bow grip is falling into something called a death grip.
What is this?
Effectively, it is when your bow grip is far too tight. This is bad for a couple of reasons:
- Firstly, a death grip forces your hand muscles to clench and tense up. This makes them shake, meaning your bow is likely to wobble and twist in your hand due to excessive torque. As such, your shots will be less accurate.
- Secondly, a tight grip also means the bow continues to sway after the arrow is fired. Why is this a problem? Well, the bow string is likely to follow through and hit your arm, causing painful injuries.
So, you need to focus on achieving a relaxed grip as much as possible. How can you do this?
Begin by picking up your bow and practicing the grip. Ensure that your index finger and thumb are touching, but all your other fingers are loose and barely in contact with the bow.
It can take some time to master but focus on breathing in and out deeply to relax your hand muscles as well. Eventually, you will feel confident and relaxed enough to load an arrow.
Common Issues with Handling Arrows
As well as grip issues, you will face some problems when handling arrows. Remember, ensure you handle the arrows with your dominant hand. If you aren't doing this, you're likely to run into all sorts of stability problems.
Nevertheless, the main issues are as follows:
Fingers gripping the bowstring too tightly
A tight grip on a bow string will stop you from firing in a straight line. This is similar to how your grip affects the archery bow itself. When it's too tight, the string is under too much torque which can alter the arrow's path.
So, keep the grip as light as possible here as well.
Too much draw weight on the bow
Try this easy training technique: hold your bow at full draw for 10 seconds.
Can you manage this without shaking or feeling muscle fatigue? If not, the draw weight is simply too high. Adjust the draw weight of your bow to ease the tension and make it easier for you to hold arrows in place at full draw.
Nocking the arrow too low
You need to find the nocking point on your bowstring where the arrow will set in place. You can do this using a bow square or by speaking to an expert at an archery range.
The ideal height is around a quarter to half an inch high. Any lower than this and you see problems - there's a lack of downforce on the arrow, so it's likely to fall off the arrow rest.
Gripping the bow too tightly
As we have mentioned many times before, gripping the bow too tightly is a big no-no.
When handling arrows, a tight bow grip will mean your bow can twist or wobble, so the arrow may easily fall out of the rest.
Summary
To summarize, you need to start by finding out which bow you need. Generally, your dominant hand determines this - a right-handed bow is for left-hand dominant people, while a left-handed bow is for right-handed people. Then, follow the steps by taking up the right stance, holding your arm at 20-30 degrees, grasping the bow's grip, keeping your grip relaxed, and loading the arrow into place.
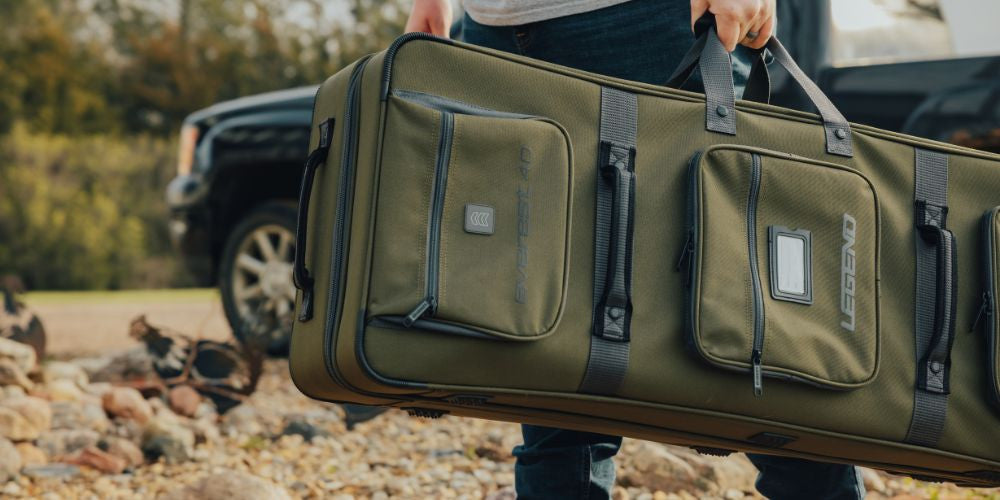
Naturally, if you want to take up archery, you will need all sorts of accessories to protect your gear. Check out our range of bow cases and arrow quivers to get started.